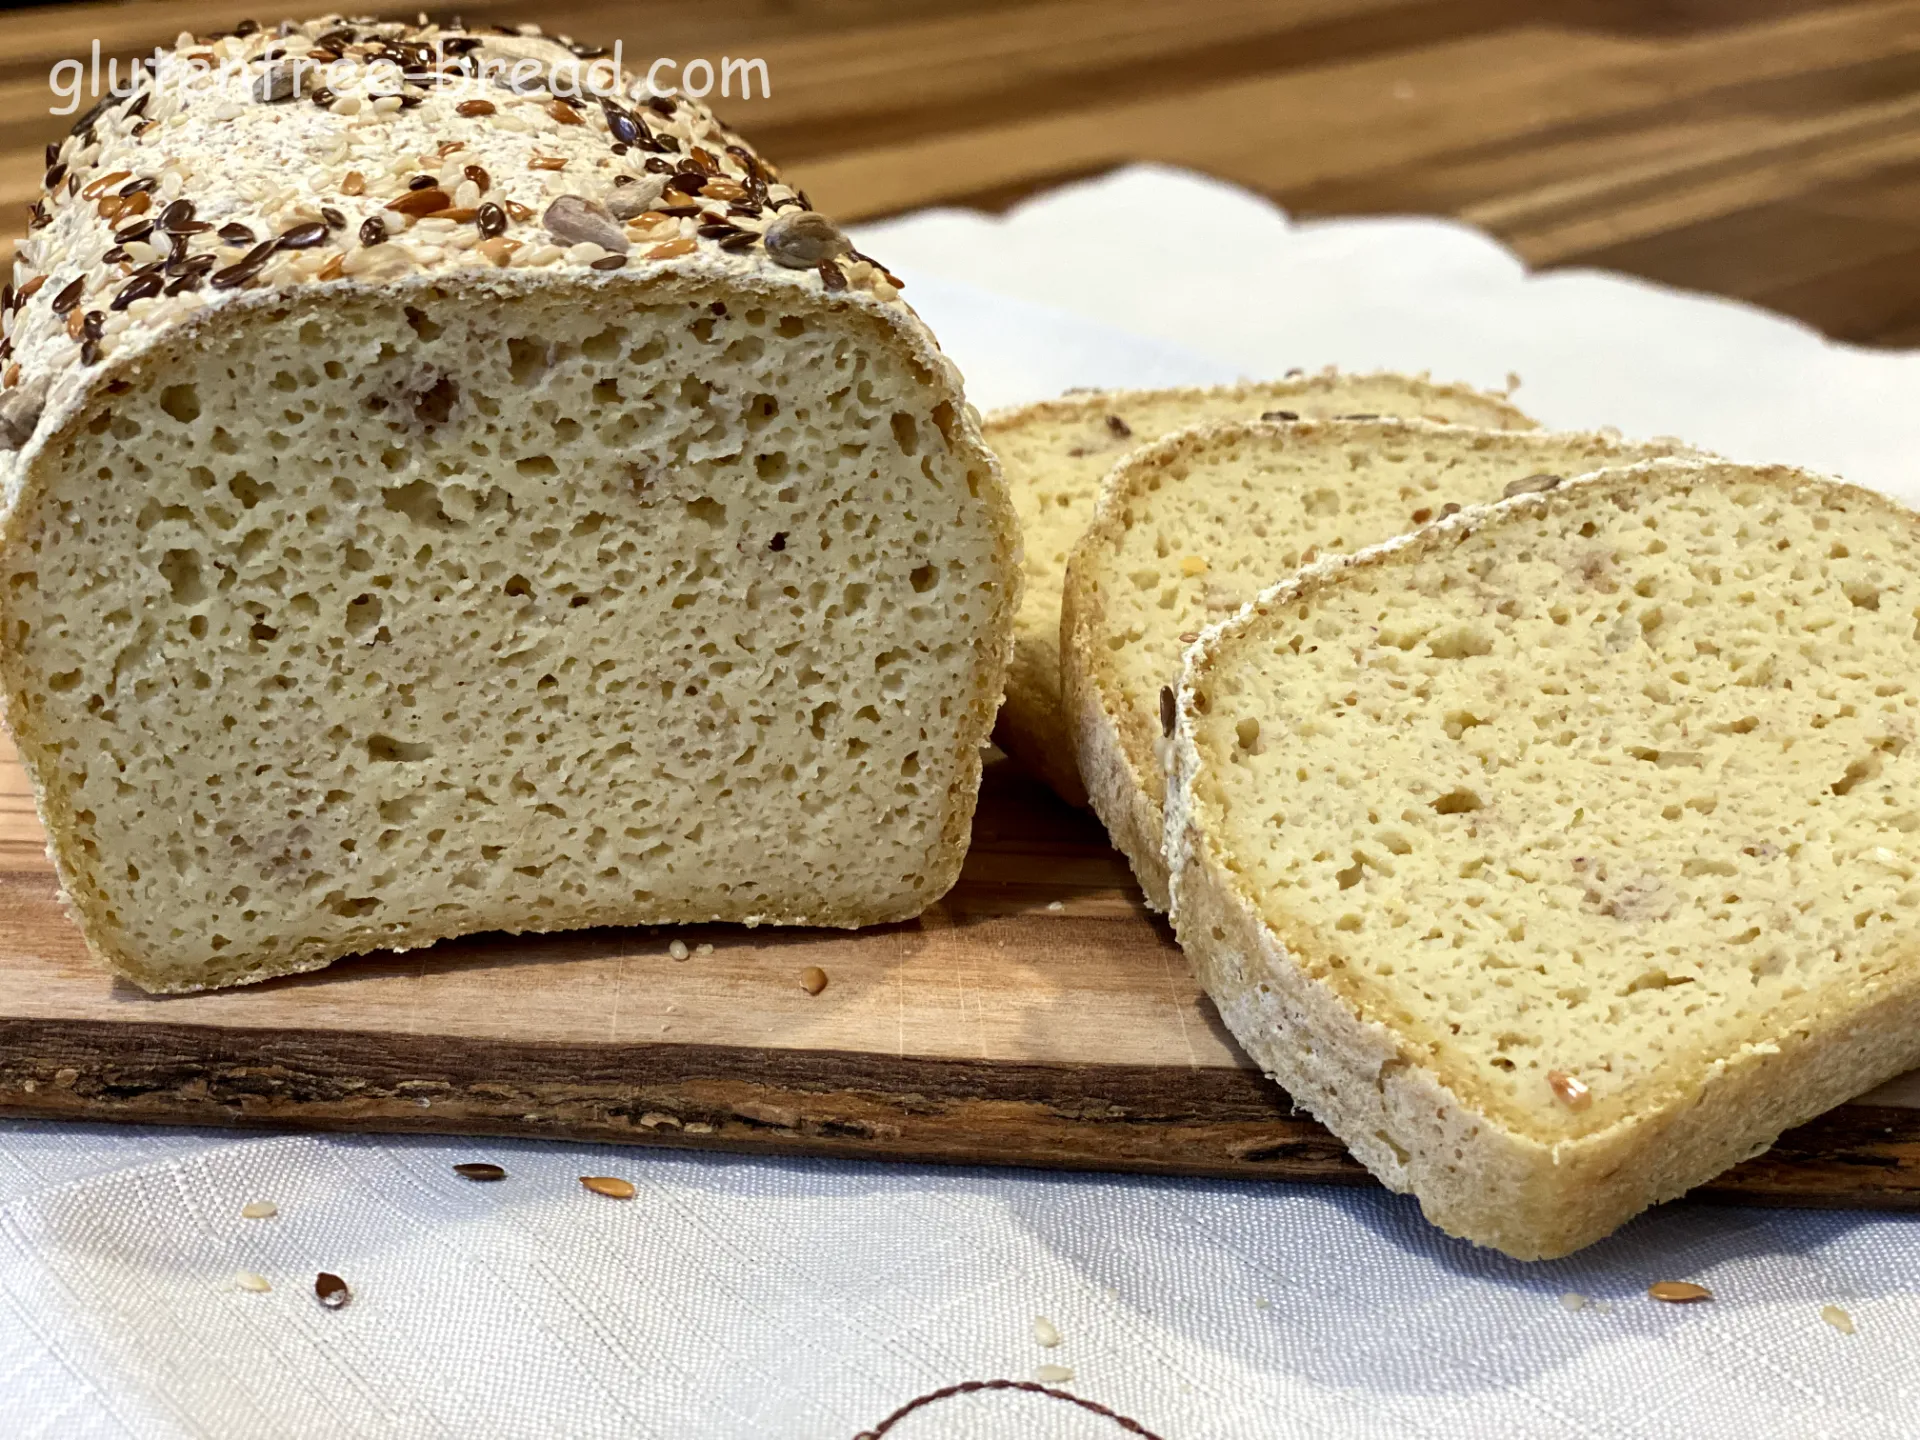
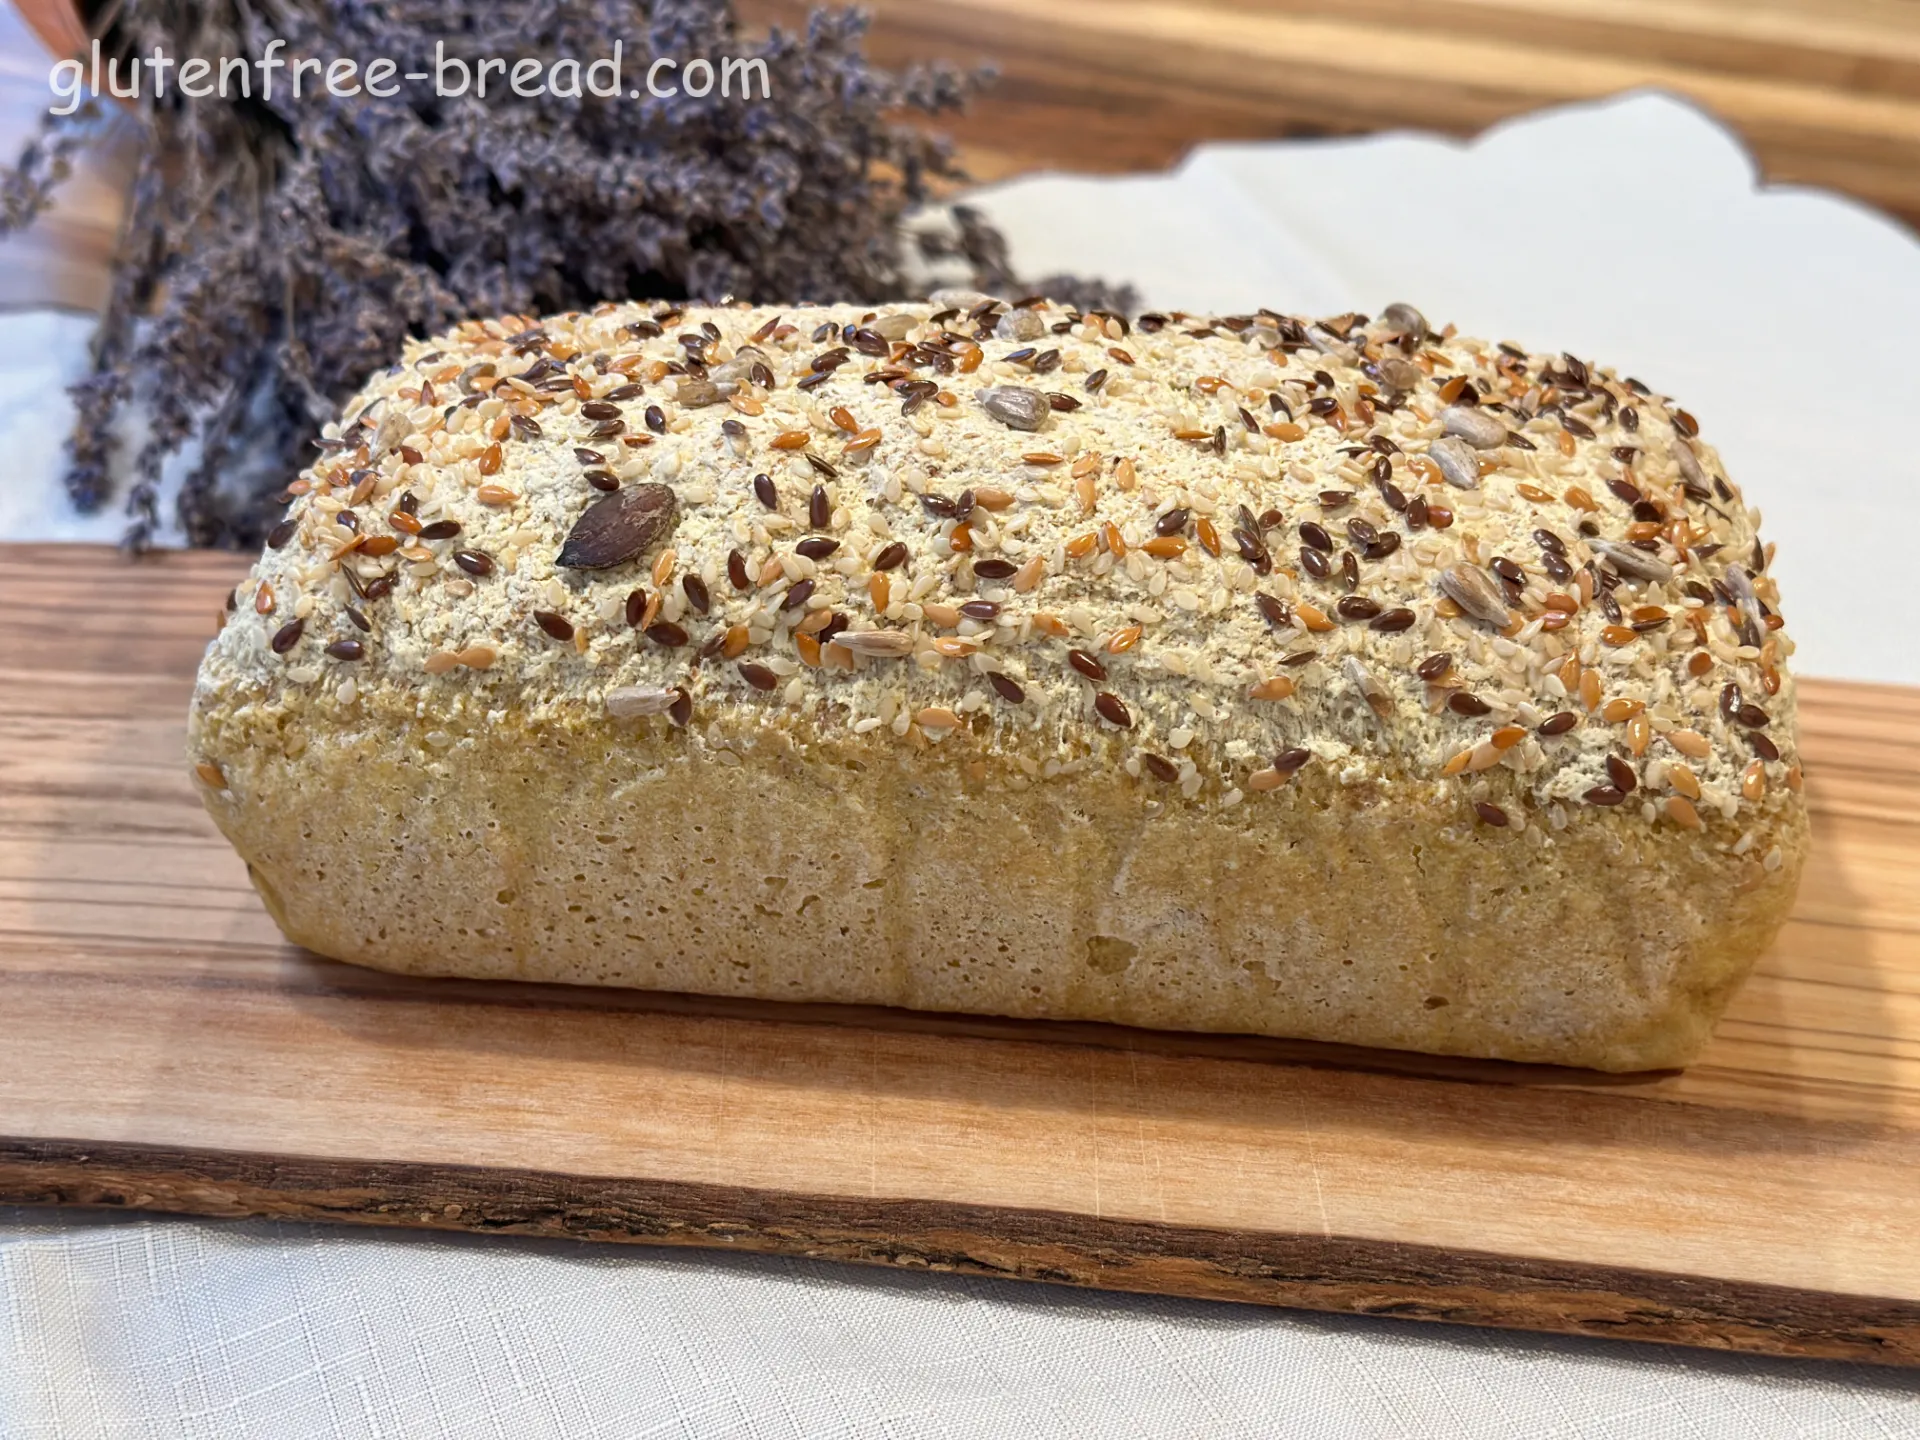
Millet Bread with Yeast
This Millet Bread with Yeast offers a delightful culinary experience with its unique blend of taste, texture, and nutrition. The flavor profile is subtly nutty and earthy, thanks to the millet, which pairs beautifully with a light, airy crumb that is both satisfying and tender. The yeast adds a delicate rise and a slight tang, balancing the bread’s natural sweetness. The texture is a highlight—moist and hearty, yet pleasantly soft, with a slight chewiness from the millet grains. The psyllium husks contribute to a well-structured crumb, giving the bread a pleasing density without being heavy. Each slice is a wholesome treat, packed with nutrients and fiber, making it a nourishing choice for those seeking a healthier alternative to conventional bread.
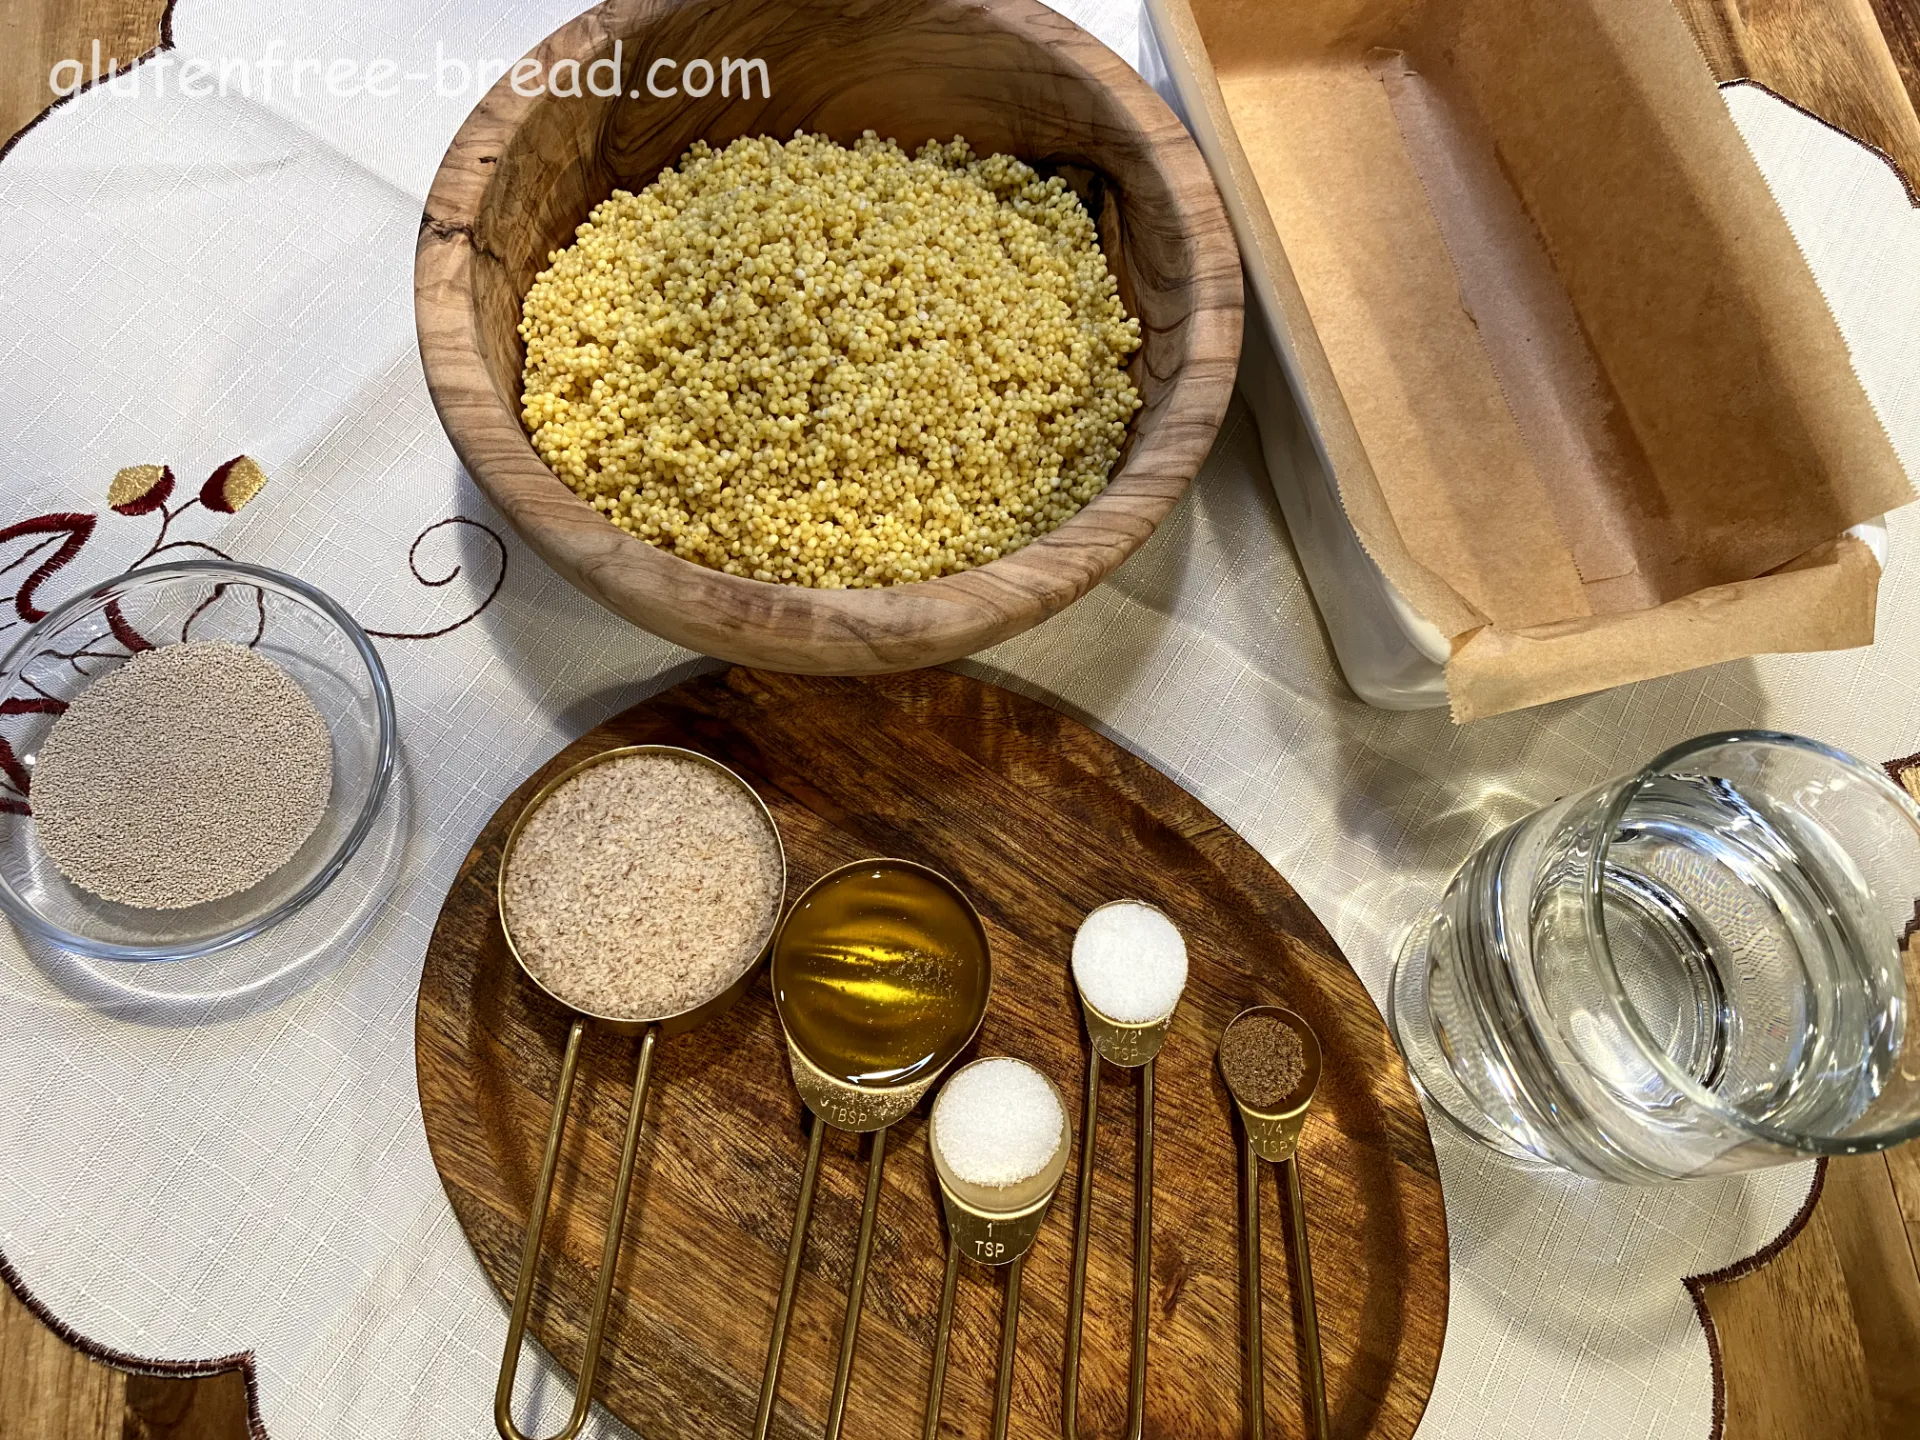
Ingredients:
| Name | Metric | US |
|---|---|---|
| Millet, dry | 300 gr | 1 1/2 cups |
| Water, up to | 630 gr | |
| Whole Psyllium Husks | 22 gr | 1/4 cup |
| Active Yeast | 7 gr | 1 teaspoon |
| Olive Oil | 15 ml | 1 tablespoon |
| Salt | 6 gr | 1 teaspoon |
| Sugar | 6 gr | 1 teaspoon |
Optional Ingredients
- 6 gr / 1 tsp Toasted Sesame Seeds
- 6 gr / 1 tsp Turmeric, for color
Equipment:
- Blender
- Loaf pan 8.5in x 4.5 inch / 21.5cm x 11.5cm
Steps:
Step 1
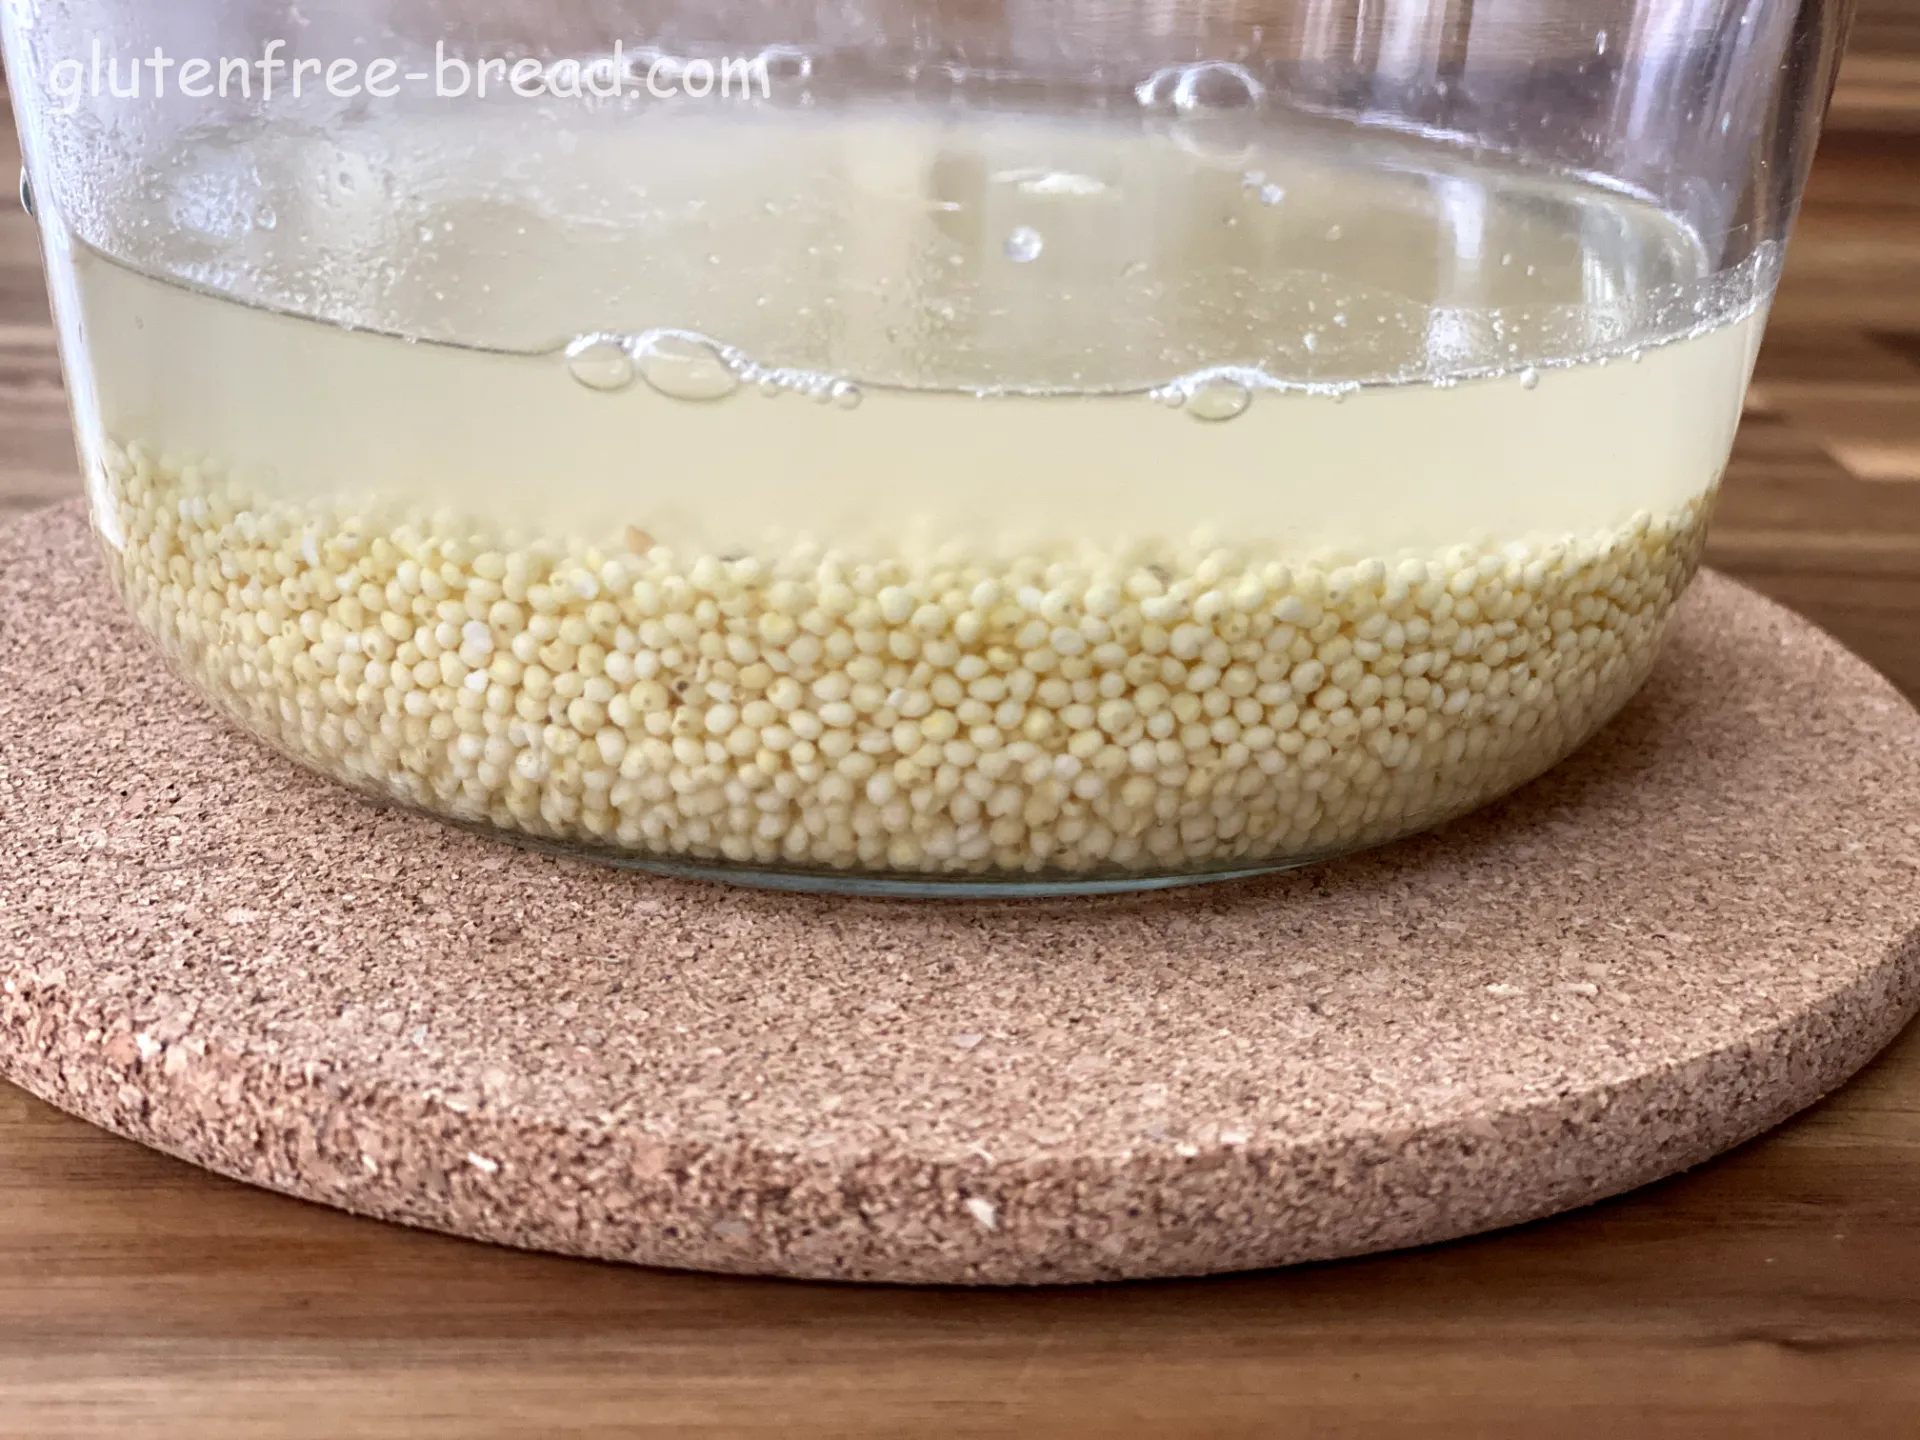
Rinse the Millet ( 300 gr ) under cold water. Soak the millet in water for 8 hours or overnight to allow it to absorb moisture.
Step 2
Preheat the oven to 395°F ( 200°C ) and line the loaf pan with parchment paper.
Step 3
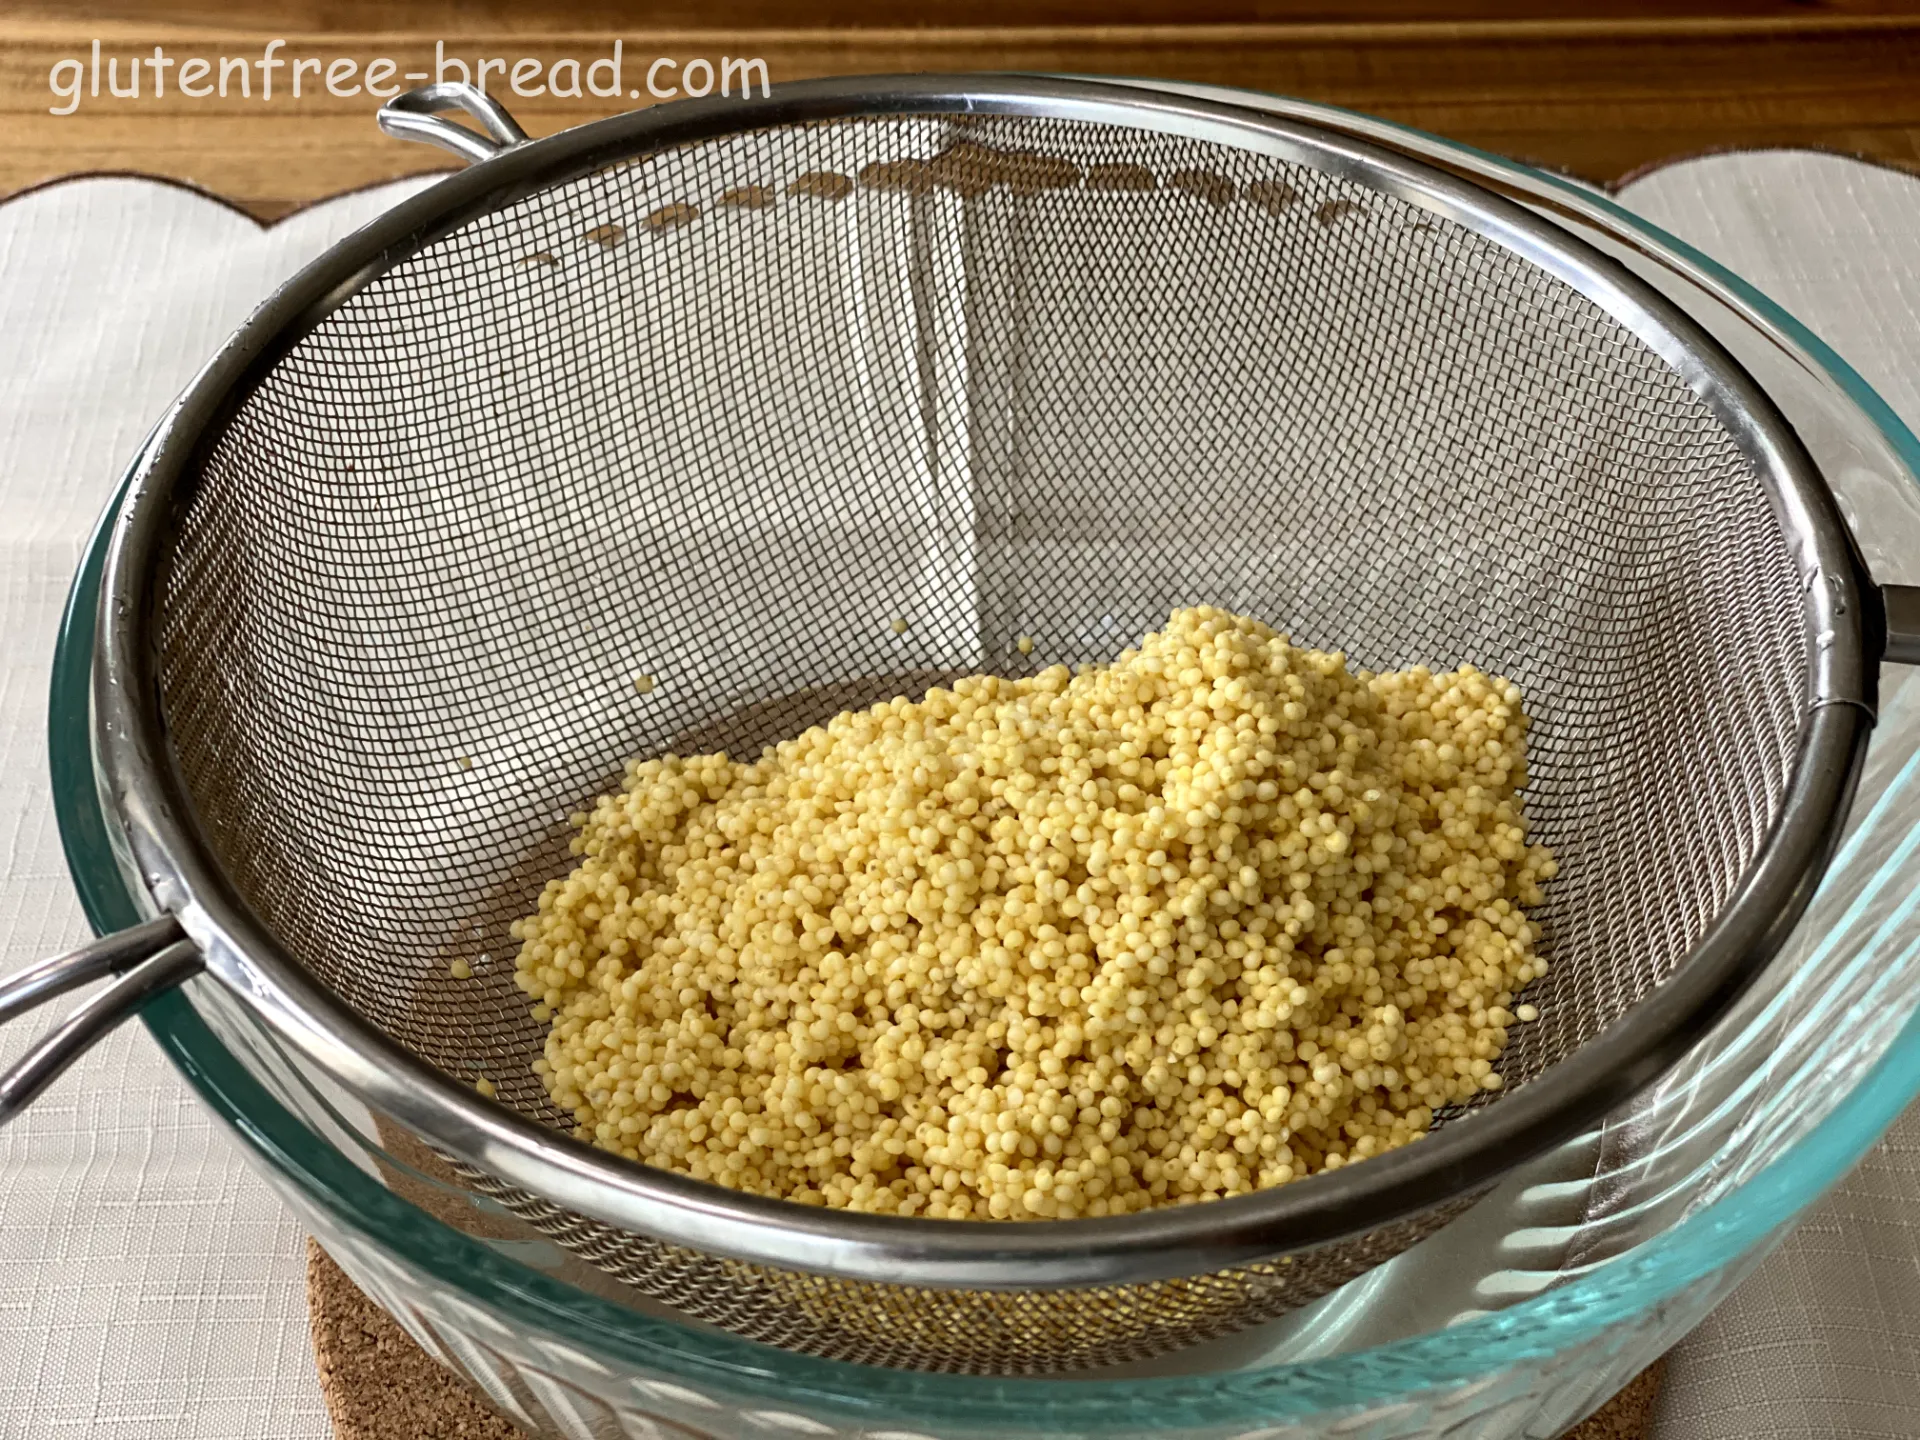
After soaking, thoroughly drain the millet.
Step 4
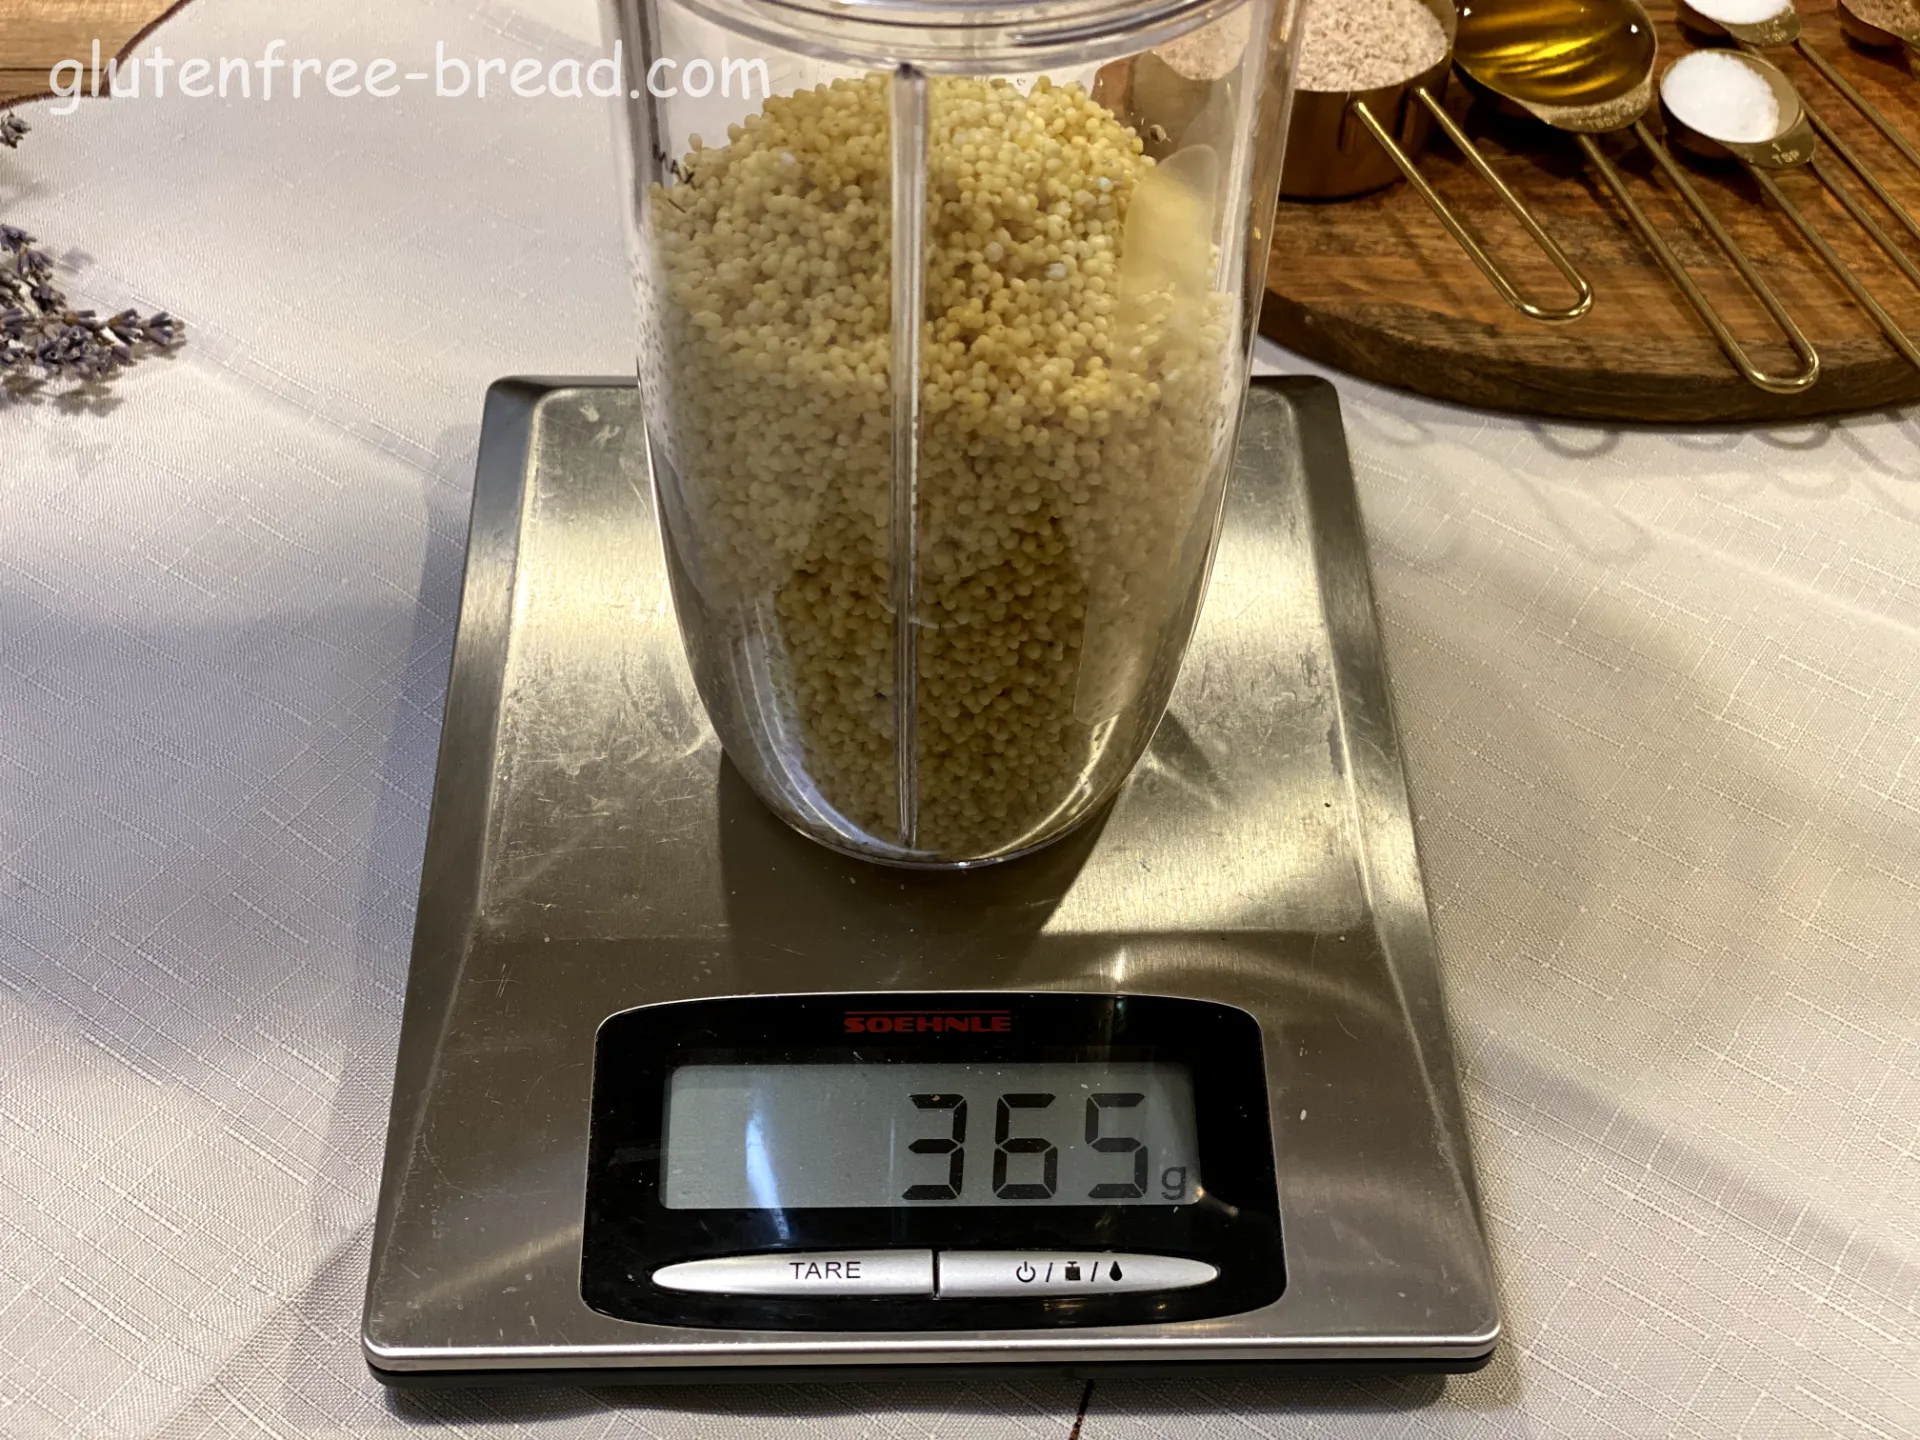
Weigh the drained millet to determine the amount of water it has absorbed.
Step 5
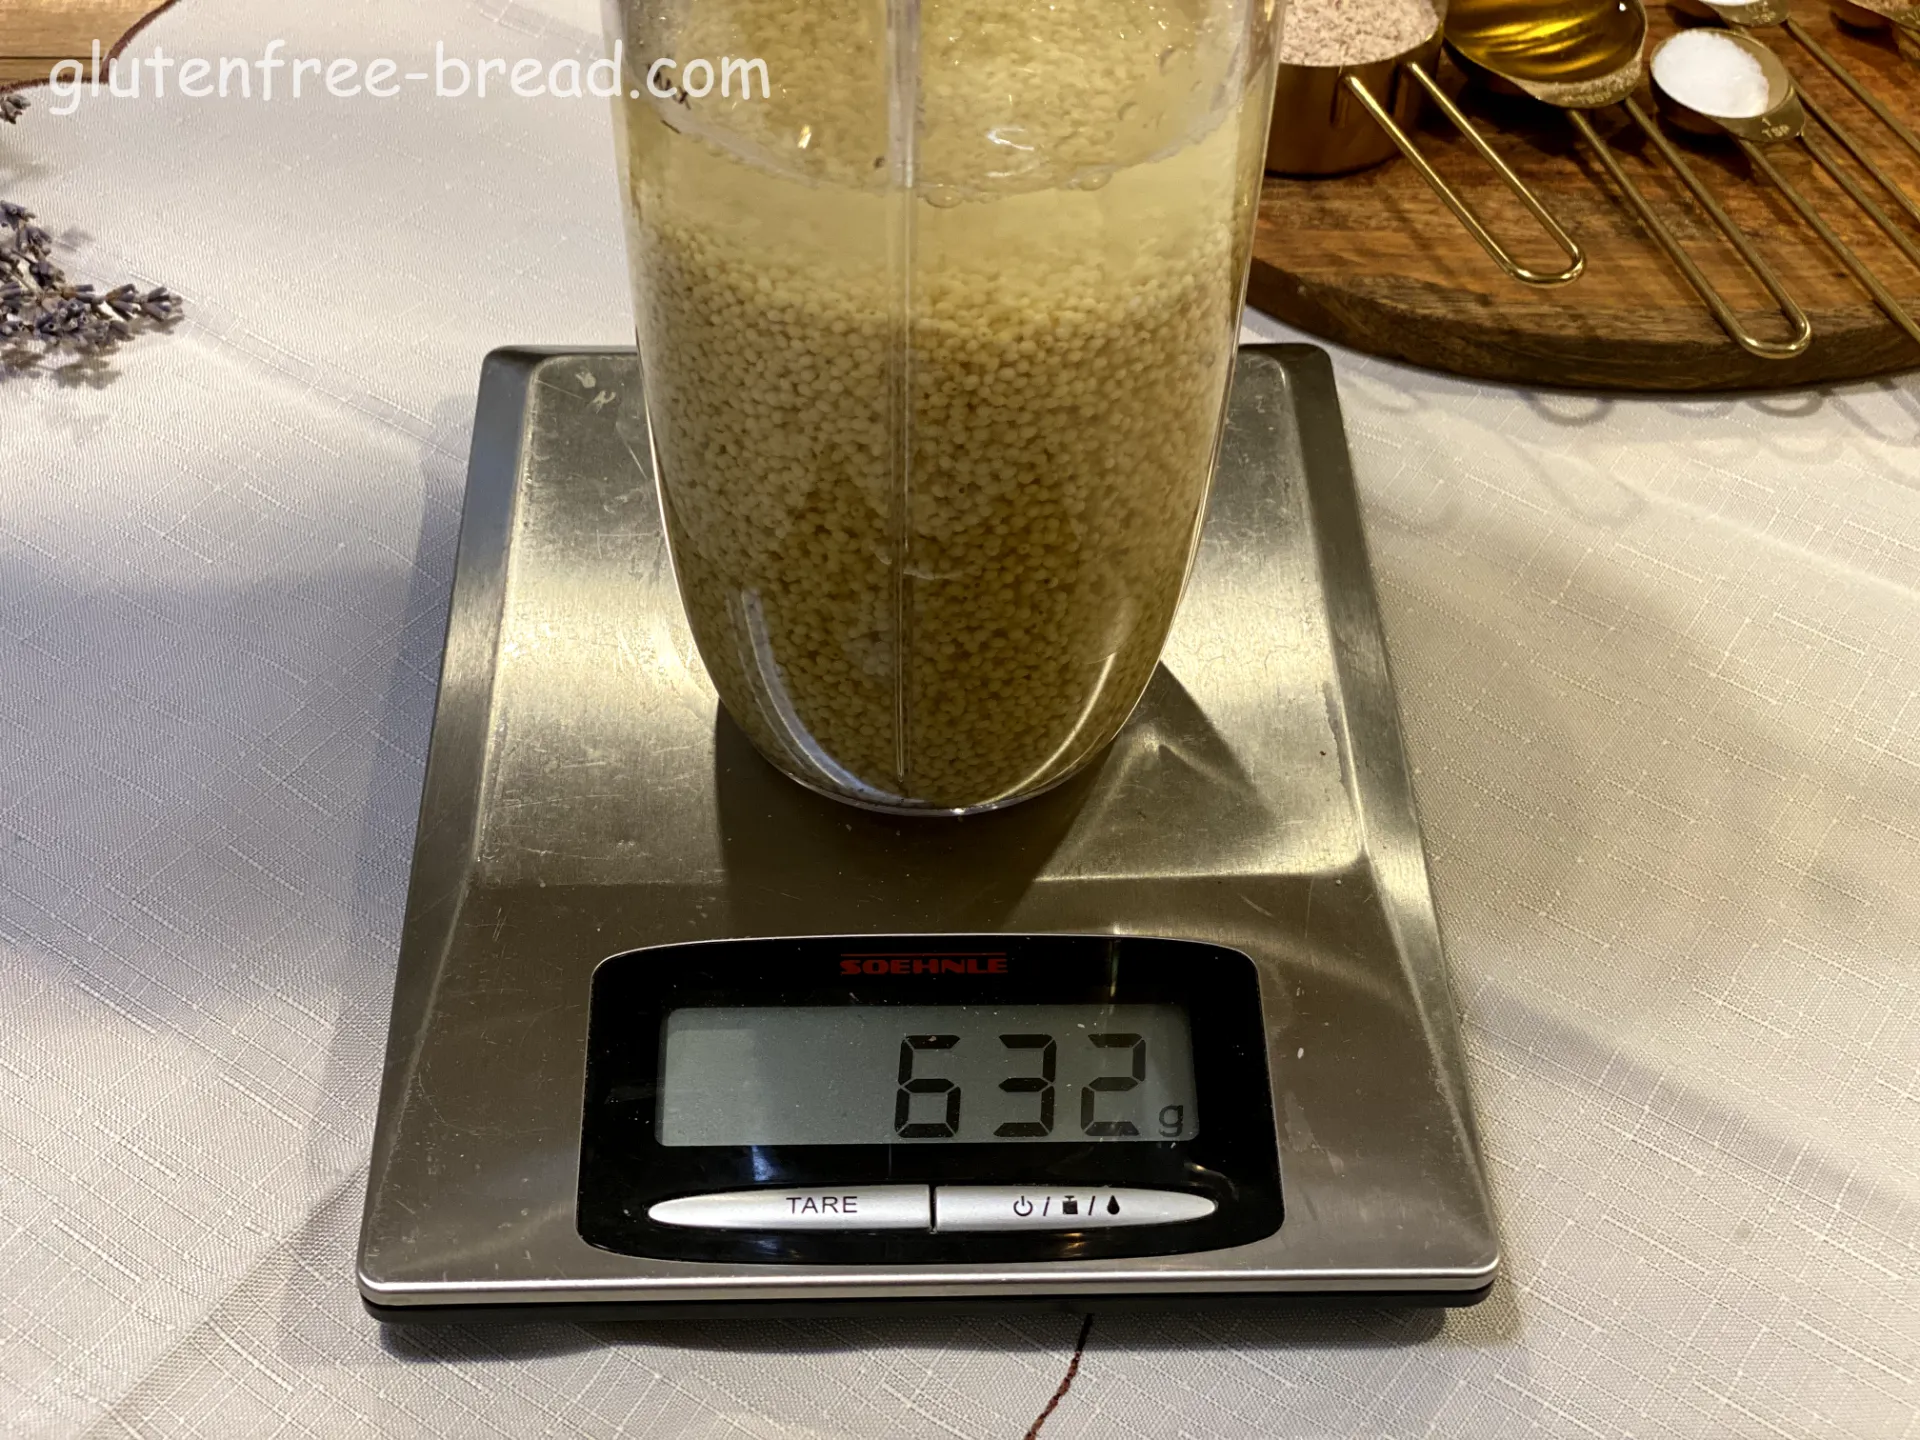
Add enough water to the drained Millet so that the total weight of the mixture is 630 grams.
Step 6
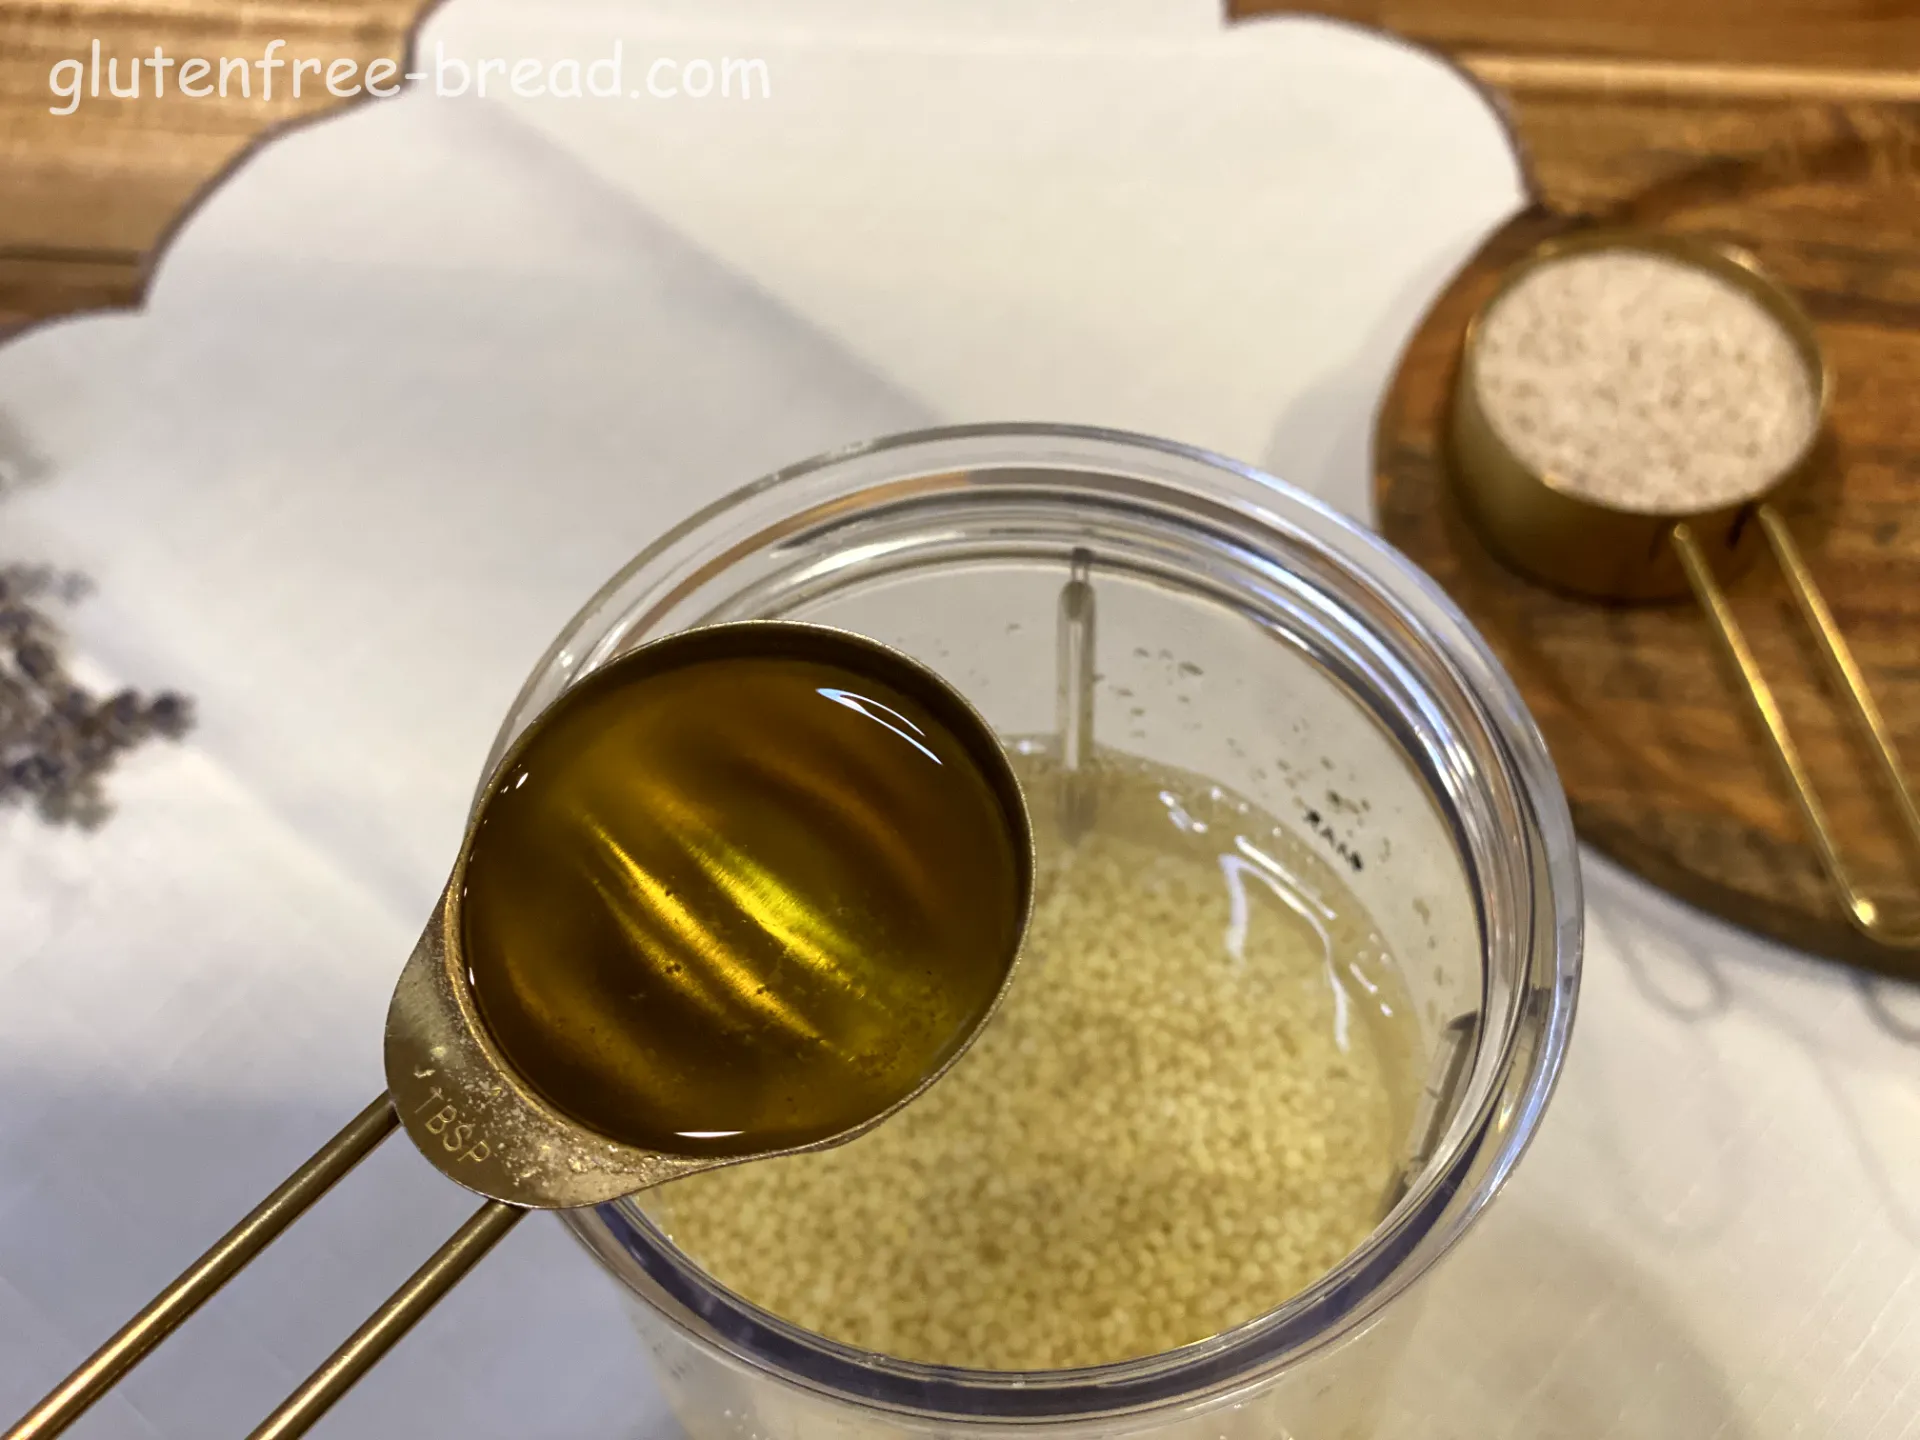
Transfer mixture to a blender and add 15 ml of Olive Oil to it.
Step 7
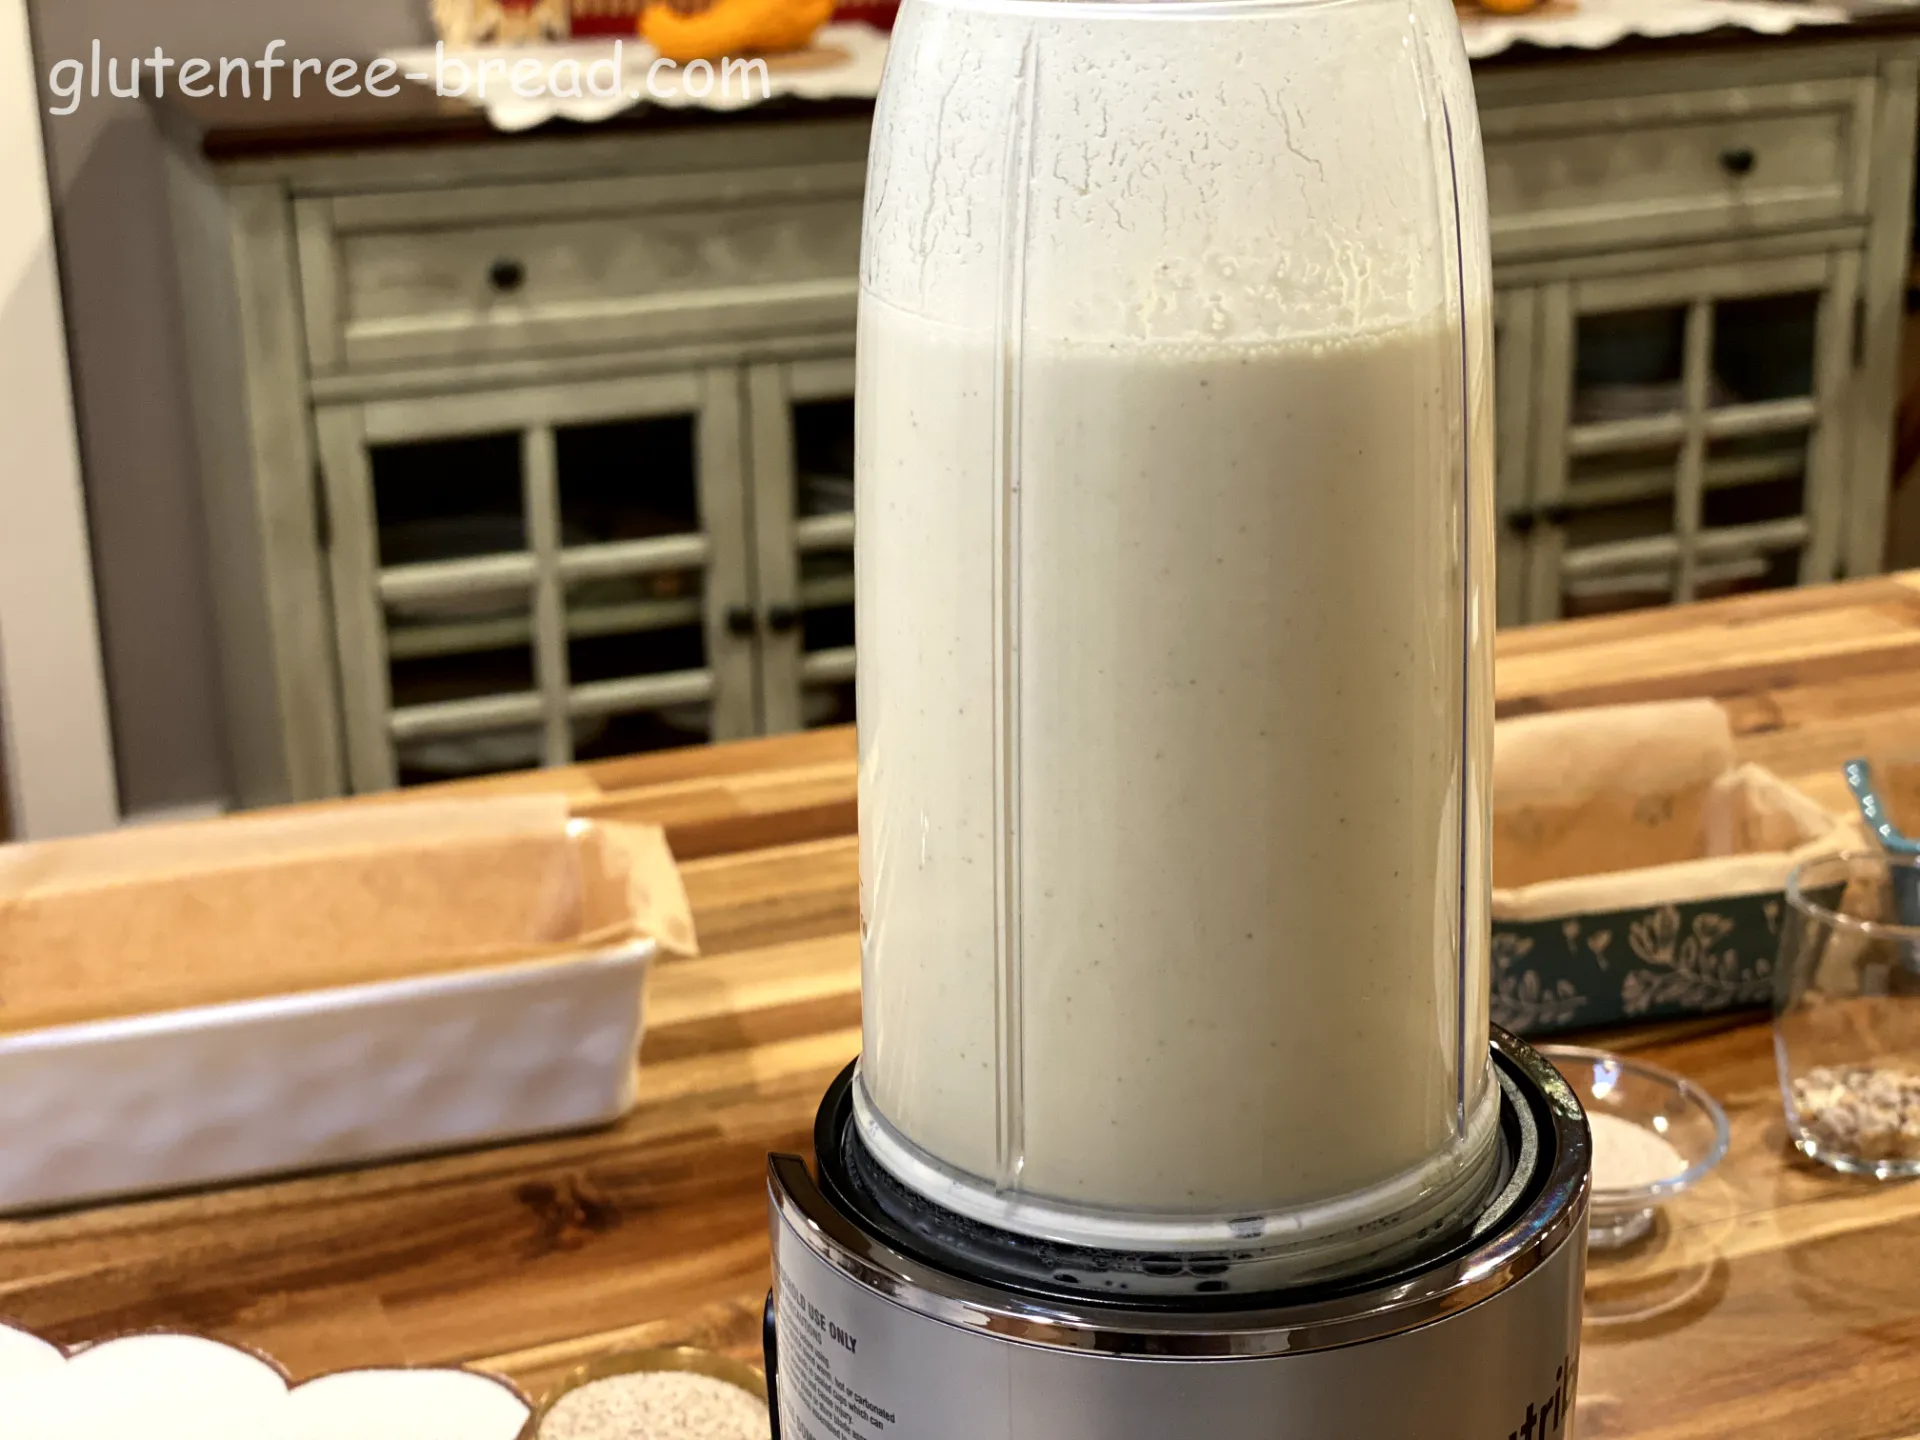
Blend until smooth.
Step 8
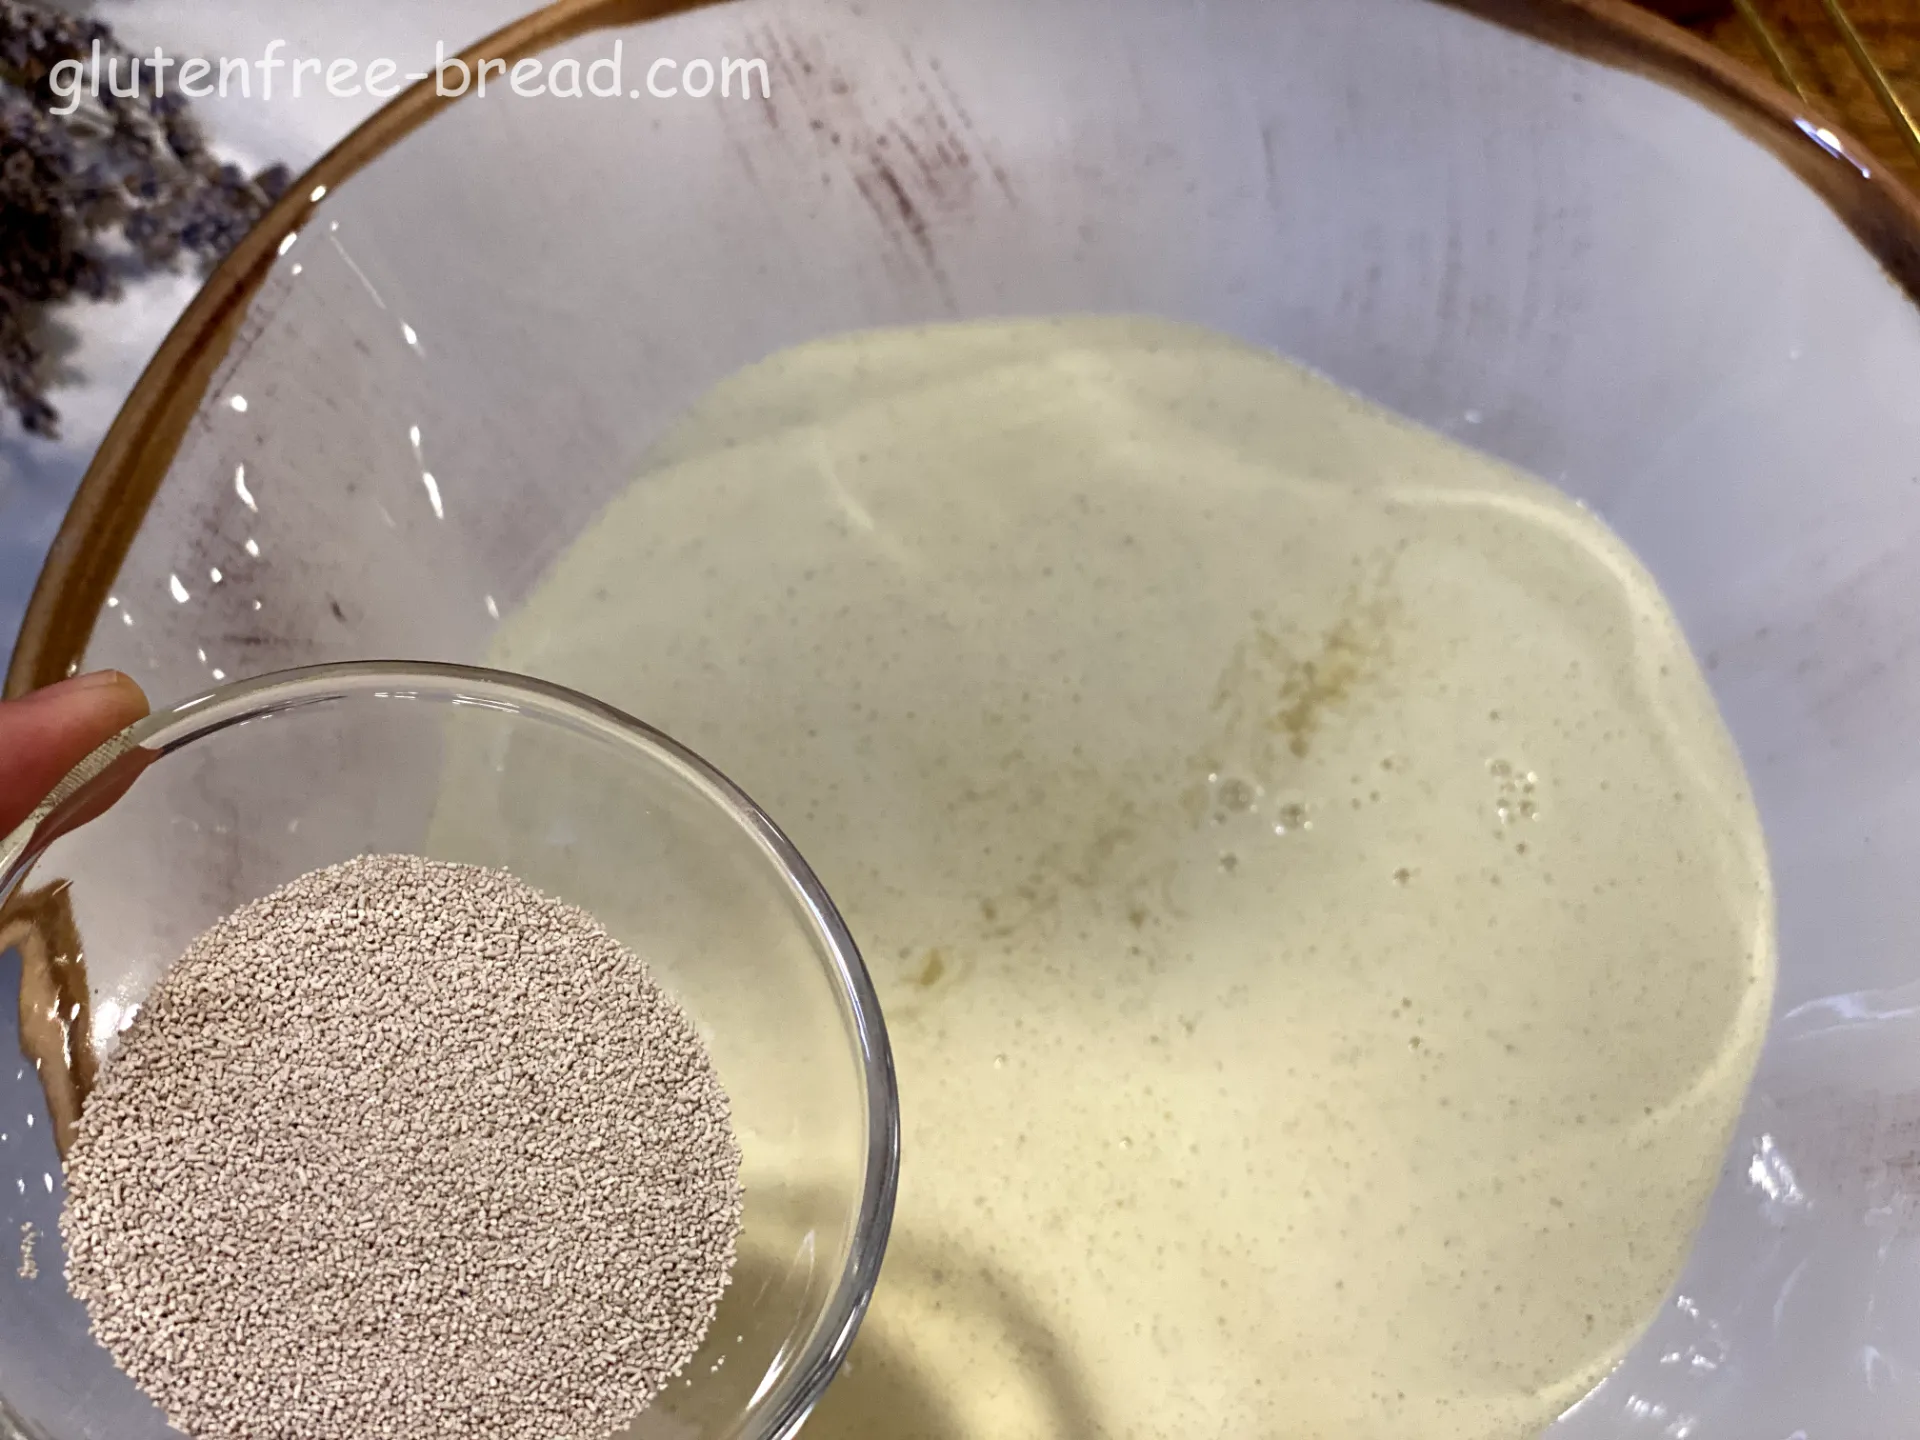
In a separate bowl, mix 7 g of Active Yeast with 6 g of Sugar. Stir this mixture into the blended millet mixture.
Step 9
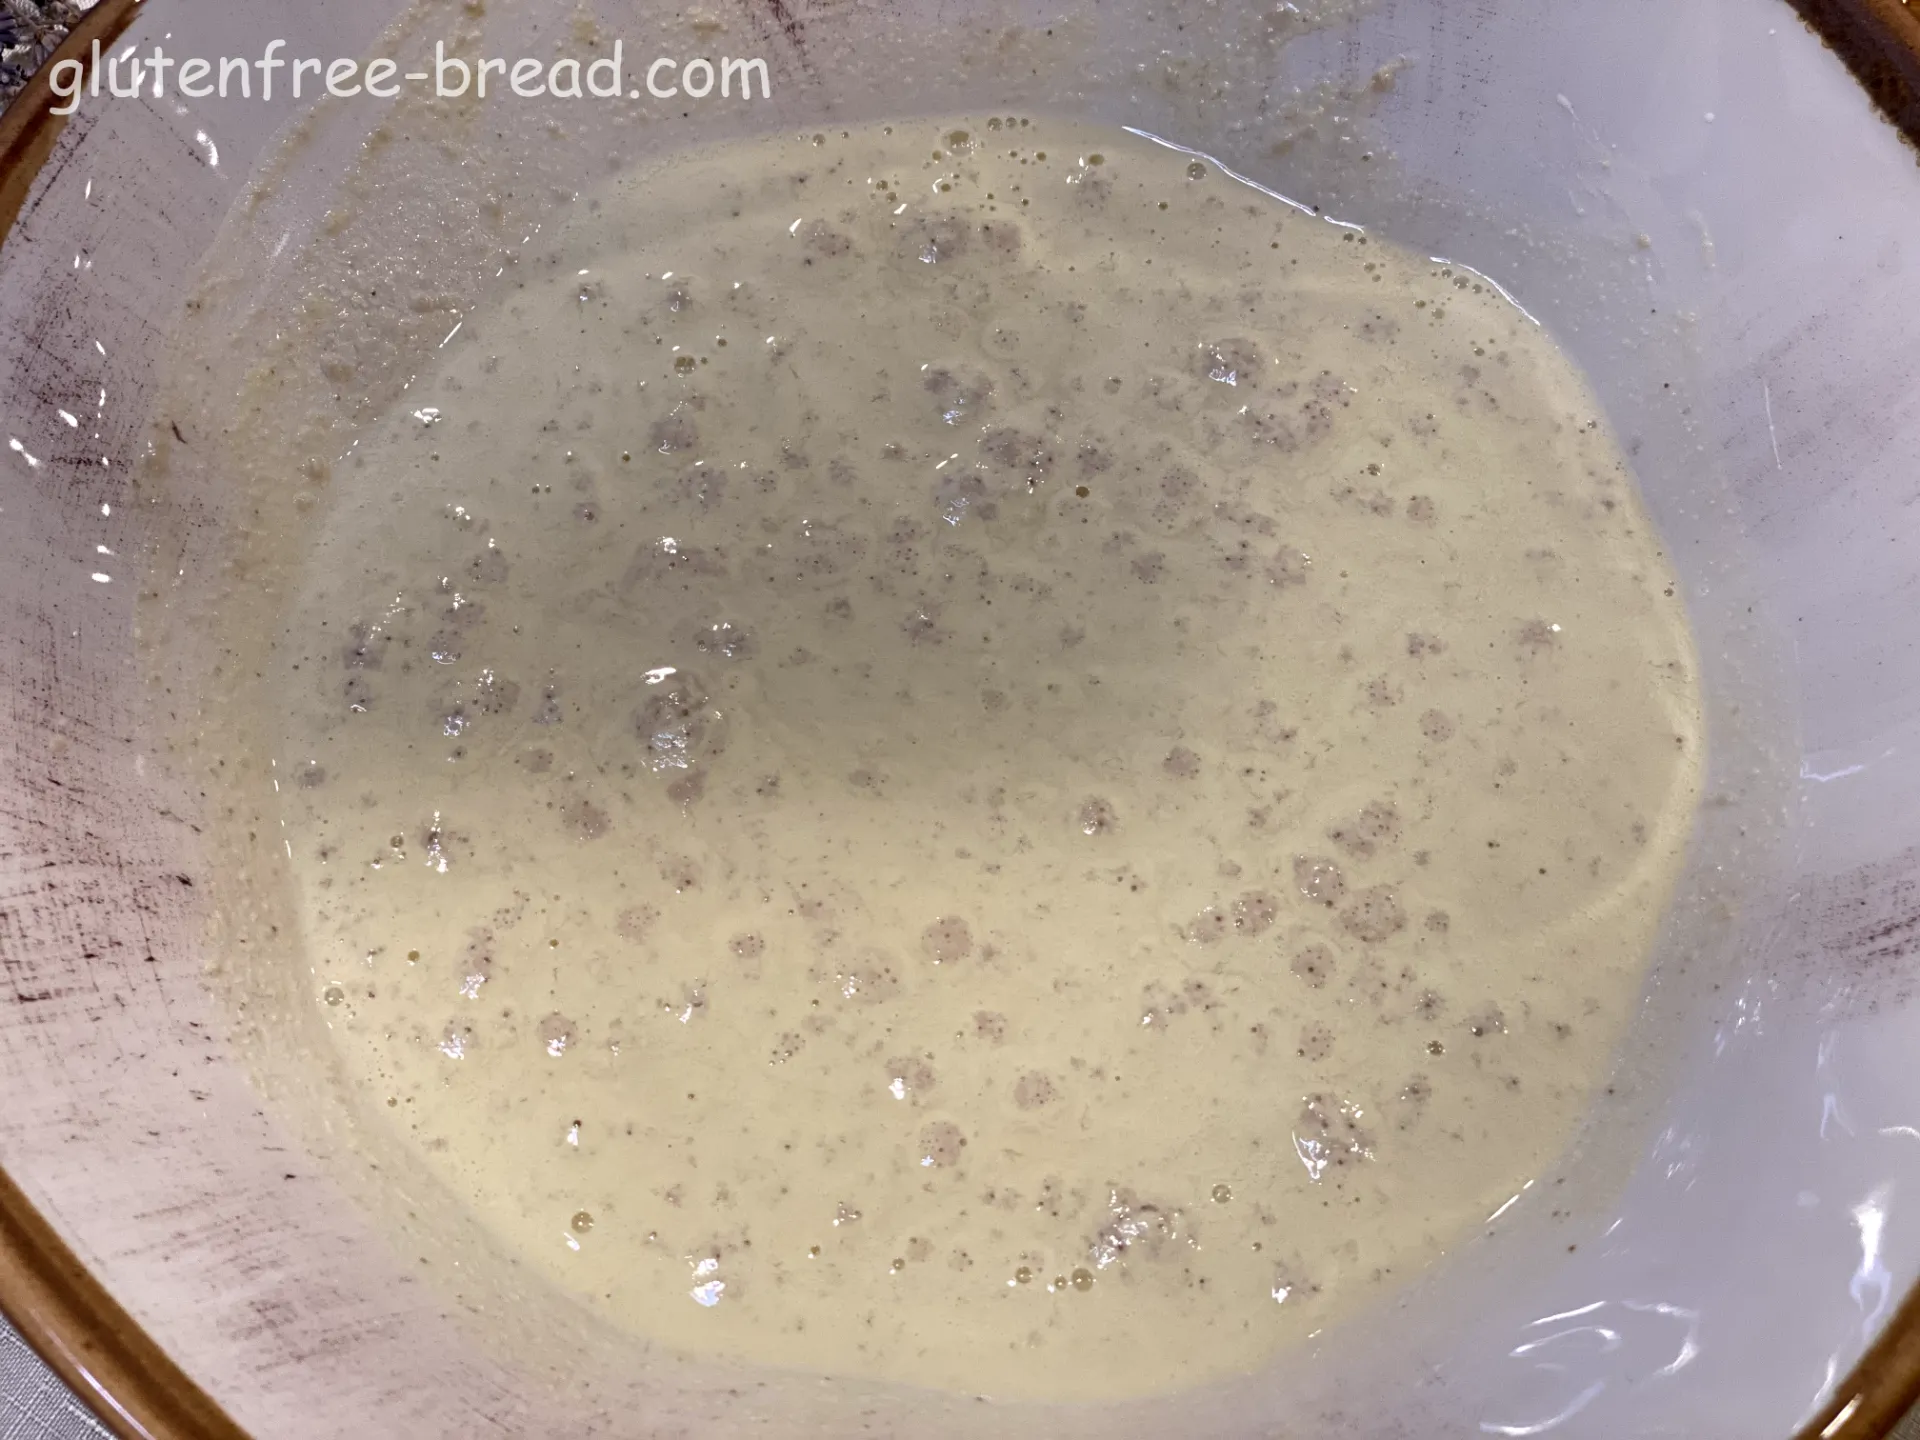
Let it sit for about 5 minutes to activate the yeast.
Step 10
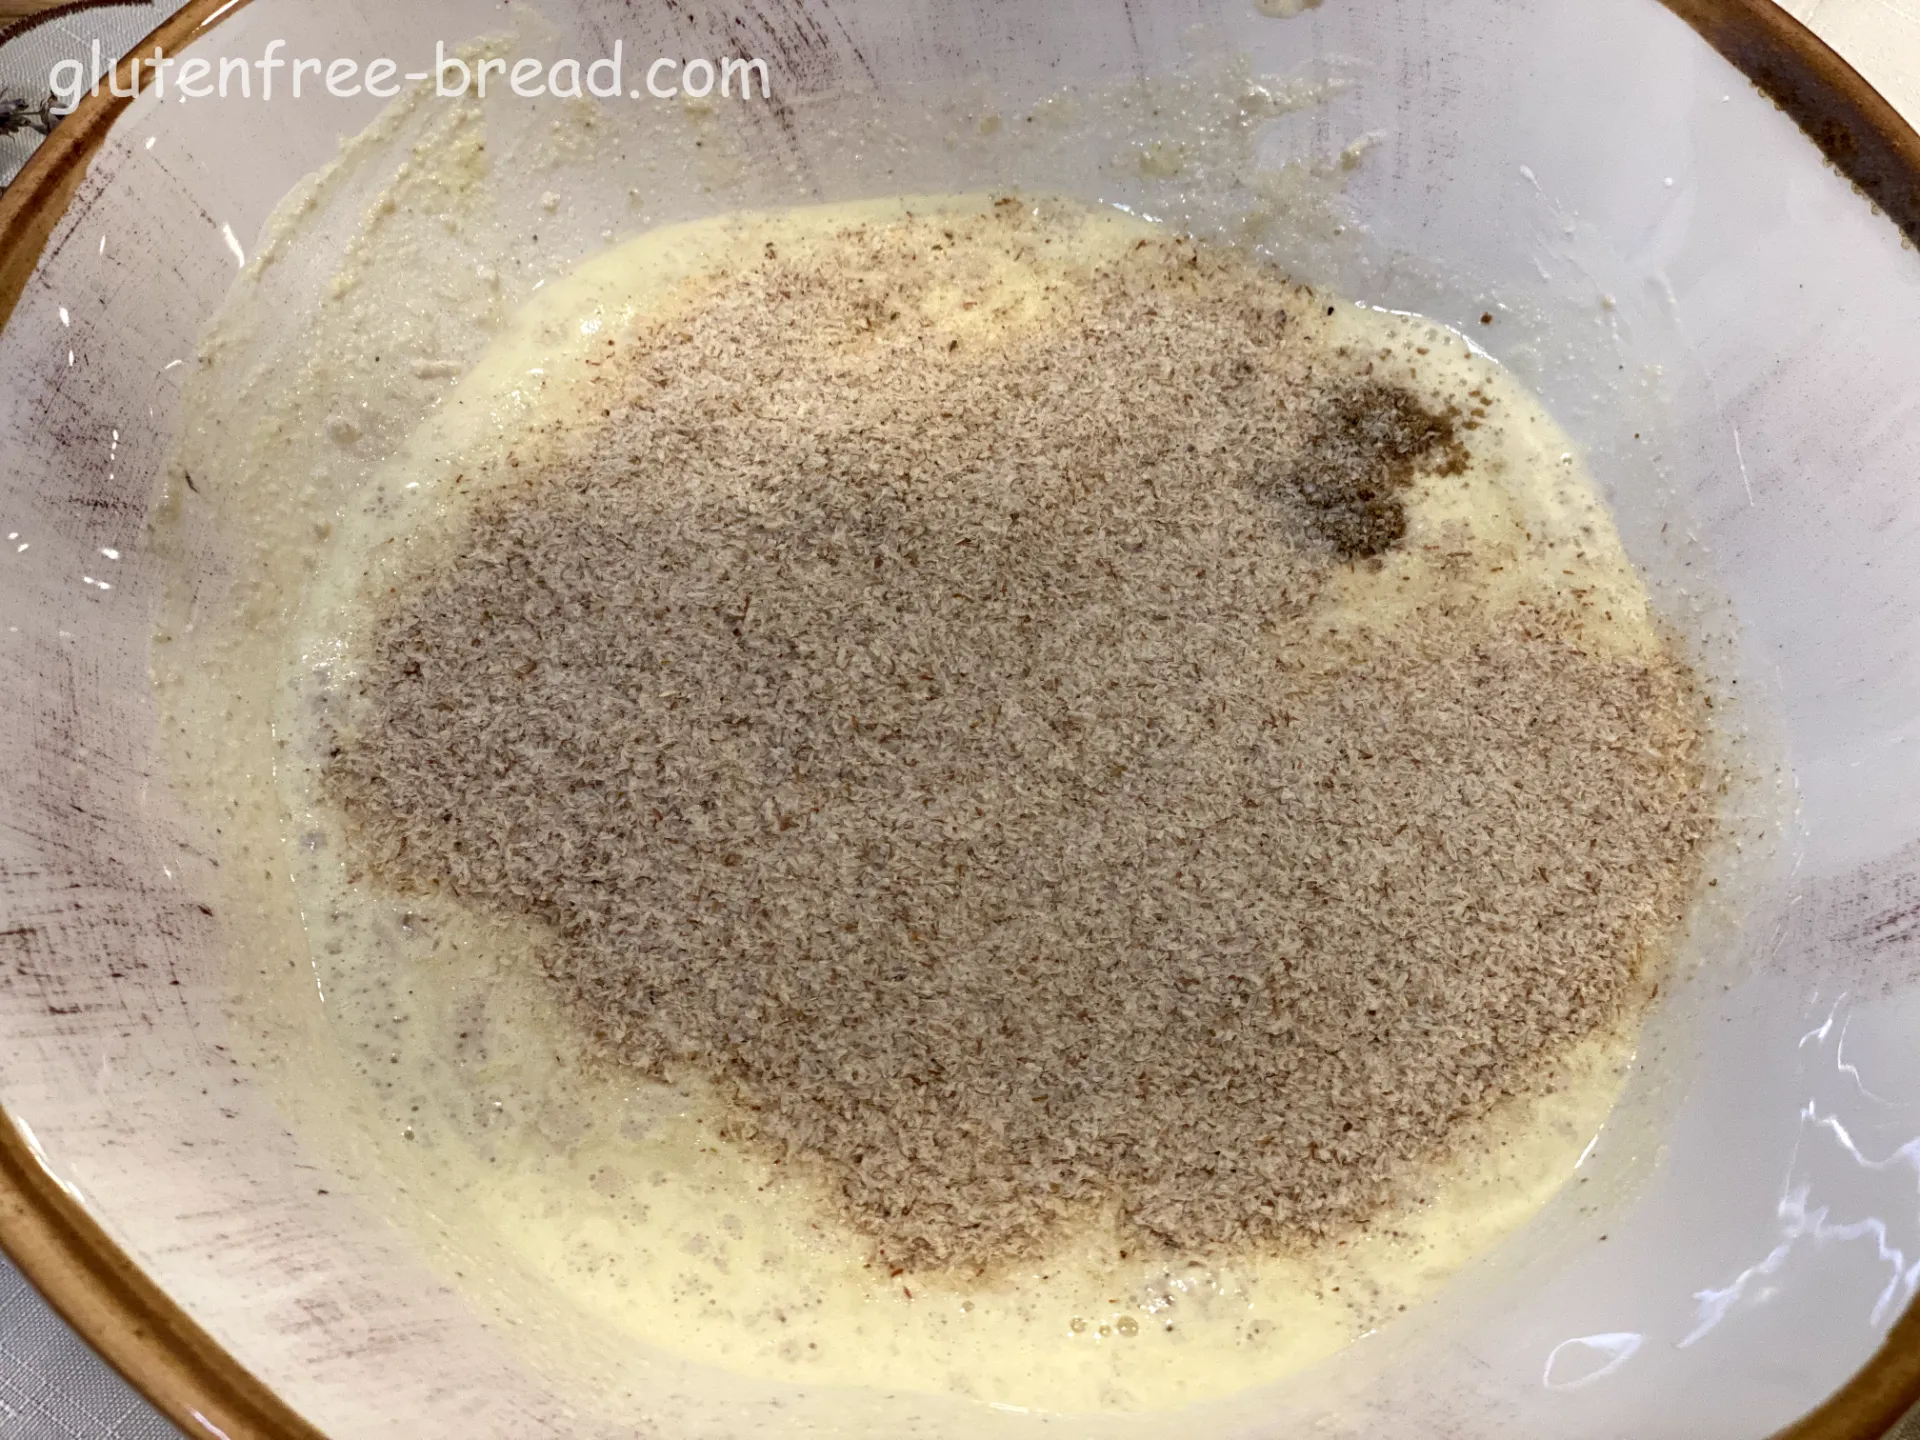
Add 22 g of Psyllium Husk, 6 g of Salt, and any additional spices (if desired) to the mixture. Stir well until all ingredients are fully combined. Allow the mixture to sit for another 5 minutes to thicken.
Step 11
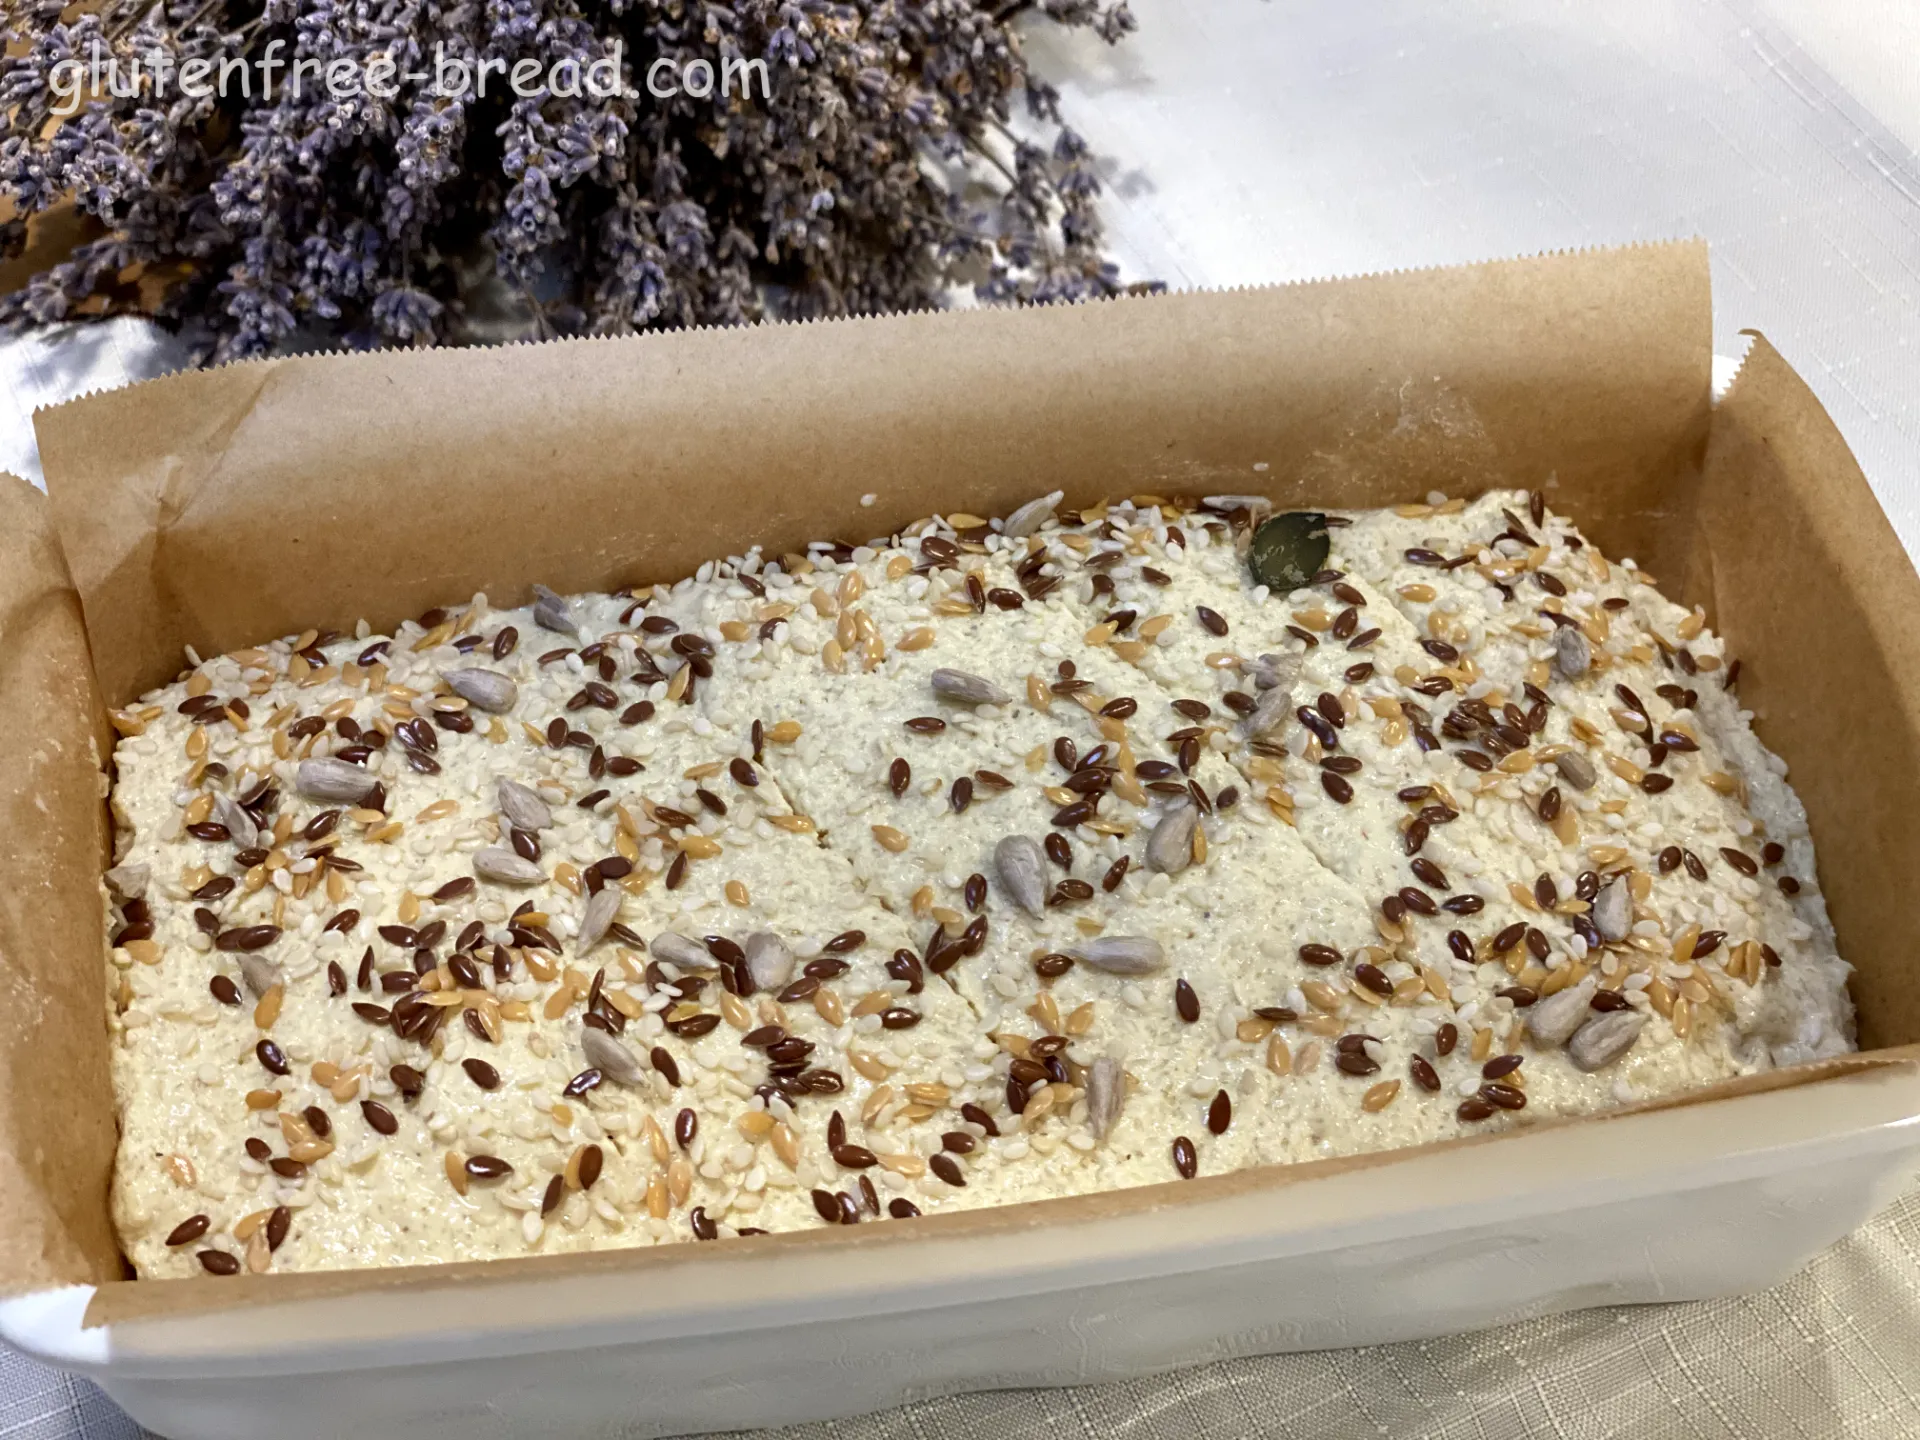
Transfer the mixture to a prepared loaf pan or baking tray. Smooth the top with a spatula. If desired, sprinkle seeds or other toppings on top.
Step 12
Place the pan in the preheated oven. Bake for approximately 45 minutes. Baking times may vary, so check towards the end of the suggested time. Perform a tap test or skewer test to ensure the bread is fully cooked (the bread should sound hollow when tapped on the bottom, and a skewer inserted in the center should come out clean).
Step 13
Allow the bread to cool completely on a wire rack before slicing. Once cooled, slice and enjoy your freshly baked millet bread!
Notes:
Millet Bread with Yeast
Tips to help you achieve the best results when baking your Millet Bread with Yeast:
Proper Soaking: Ensure the millet is soaked for a full 8 hours or overnight. This step is crucial for the millet to absorb enough moisture and achieve the right consistency in the bread.
Accurate Measurements: Weigh the drained millet to determine how much water to add. The final mixture should total 630 grams, so precise measurements are key for the correct texture.
Blending Thoroughly: When blending the millet mixture, ensure it is completely smooth. This will help the bread achieve a uniform texture and rise evenly.
Yeast Activation: Allow the yeast and sugar mixture to sit for about 5 minutes until it becomes frothy. This ensures the yeast is active and will help the bread rise properly.
Mixing Well: Stir the psyllium husks and salt thoroughly into the blended mixture. Psyllium husks help with the bread’s structure and moisture retention, so even distribution is important.
Thickening Time: Let the mixture sit for an additional 5 minutes after adding the psyllium husks. This allows the psyllium to fully hydrate and thicken the dough, which helps with the final texture.
Pan Preparation: Use parchment paper to line your baking pan for easy removal and a clean finish. This also helps prevent the bread from sticking.
Checking for Doneness: Start checking the bread towards the end of the baking time. Use the tap test (the bread should sound hollow when tapped) and a skewer to ensure it’s fully cooked. Adjust baking time if needed based on your oven.
Cooling Completely: Allow the bread to cool completely on a wire rack before slicing. This helps set the crumb and prevents it from becoming gummy.
Experiment with Toppings: For added texture and flavor, consider sprinkling seeds, herbs, or grains on top of the bread before baking. This can enhance both the appearance and taste.
Following these tips will help you bake a delicious, perfectly textured millet bread that’s sure to impress!
Millet Bread with Yeast Additional information:
Health Benefits and Nutritional Value
Gluten-Free:
- Millet is naturally gluten-free, making this bread an excellent choice for individuals with celiac disease or gluten sensitivity.
High in Essential Nutrients:
- Millet is rich in essential nutrients such as calcium, iron, magnesium, phosphorus, and potassium, contributing to overall health and wellness.
Rich in Antioxidants:
- The presence of antioxidants in millet, including flavonoids and polyphenols, helps combat oxidative stress and may reduce the risk of chronic diseases.
Supports Digestive Health:
- Millet’s fiber content supports healthy digestion by promoting regular bowel movements and preventing constipation.
Nutrient Absorption:
- Proper preparation of millet reduces phytic acid, enhancing the absorption of essential minerals.
Texture and Flavor
Unique Texture:
- Millet bread has a distinctive, slightly nutty flavor and a tender crumb. Its texture is often described as light and airy, thanks to the blending and baking process.
Versatility:
- This bread pairs well with a variety of spreads, from savory options like avocado or hummus to sweet choices such as honey or fruit preserves.
Preparation and Cooking Tips
Blending for Smoothness:
- Blending the soaked millet until smooth helps achieve a consistent texture in the bread, contributing to its light and airy quality.
Baking Variations:
- You can experiment with adding seeds, nuts, or dried fruits to the bread for extra flavor and nutritional benefits.
Cooling Properly:
- Allow the bread to cool completely on a wire rack before slicing. This helps maintain its structure and prevents it from becoming soggy.
Serving Suggestions
Meal Pairings:
- Serve millet bread with soups, salads, or as a side with main courses. It also makes a great base for sandwiches or toast.
Storage Tips:
- Store leftover bread in an airtight container at room temperature for up to 3-4 days. For longer storage, you can freeze it in slices and toast as needed.
Sustainability
- Environmentally Friendly:
- Millet is a hardy crop that requires less water and can be grown in various climates, making it a more sustainable choice compared to some other grains.
By highlighting these aspects, you can provide a comprehensive view of millet bread, from its health benefits and unique qualities to practical tips for preparation and serving.