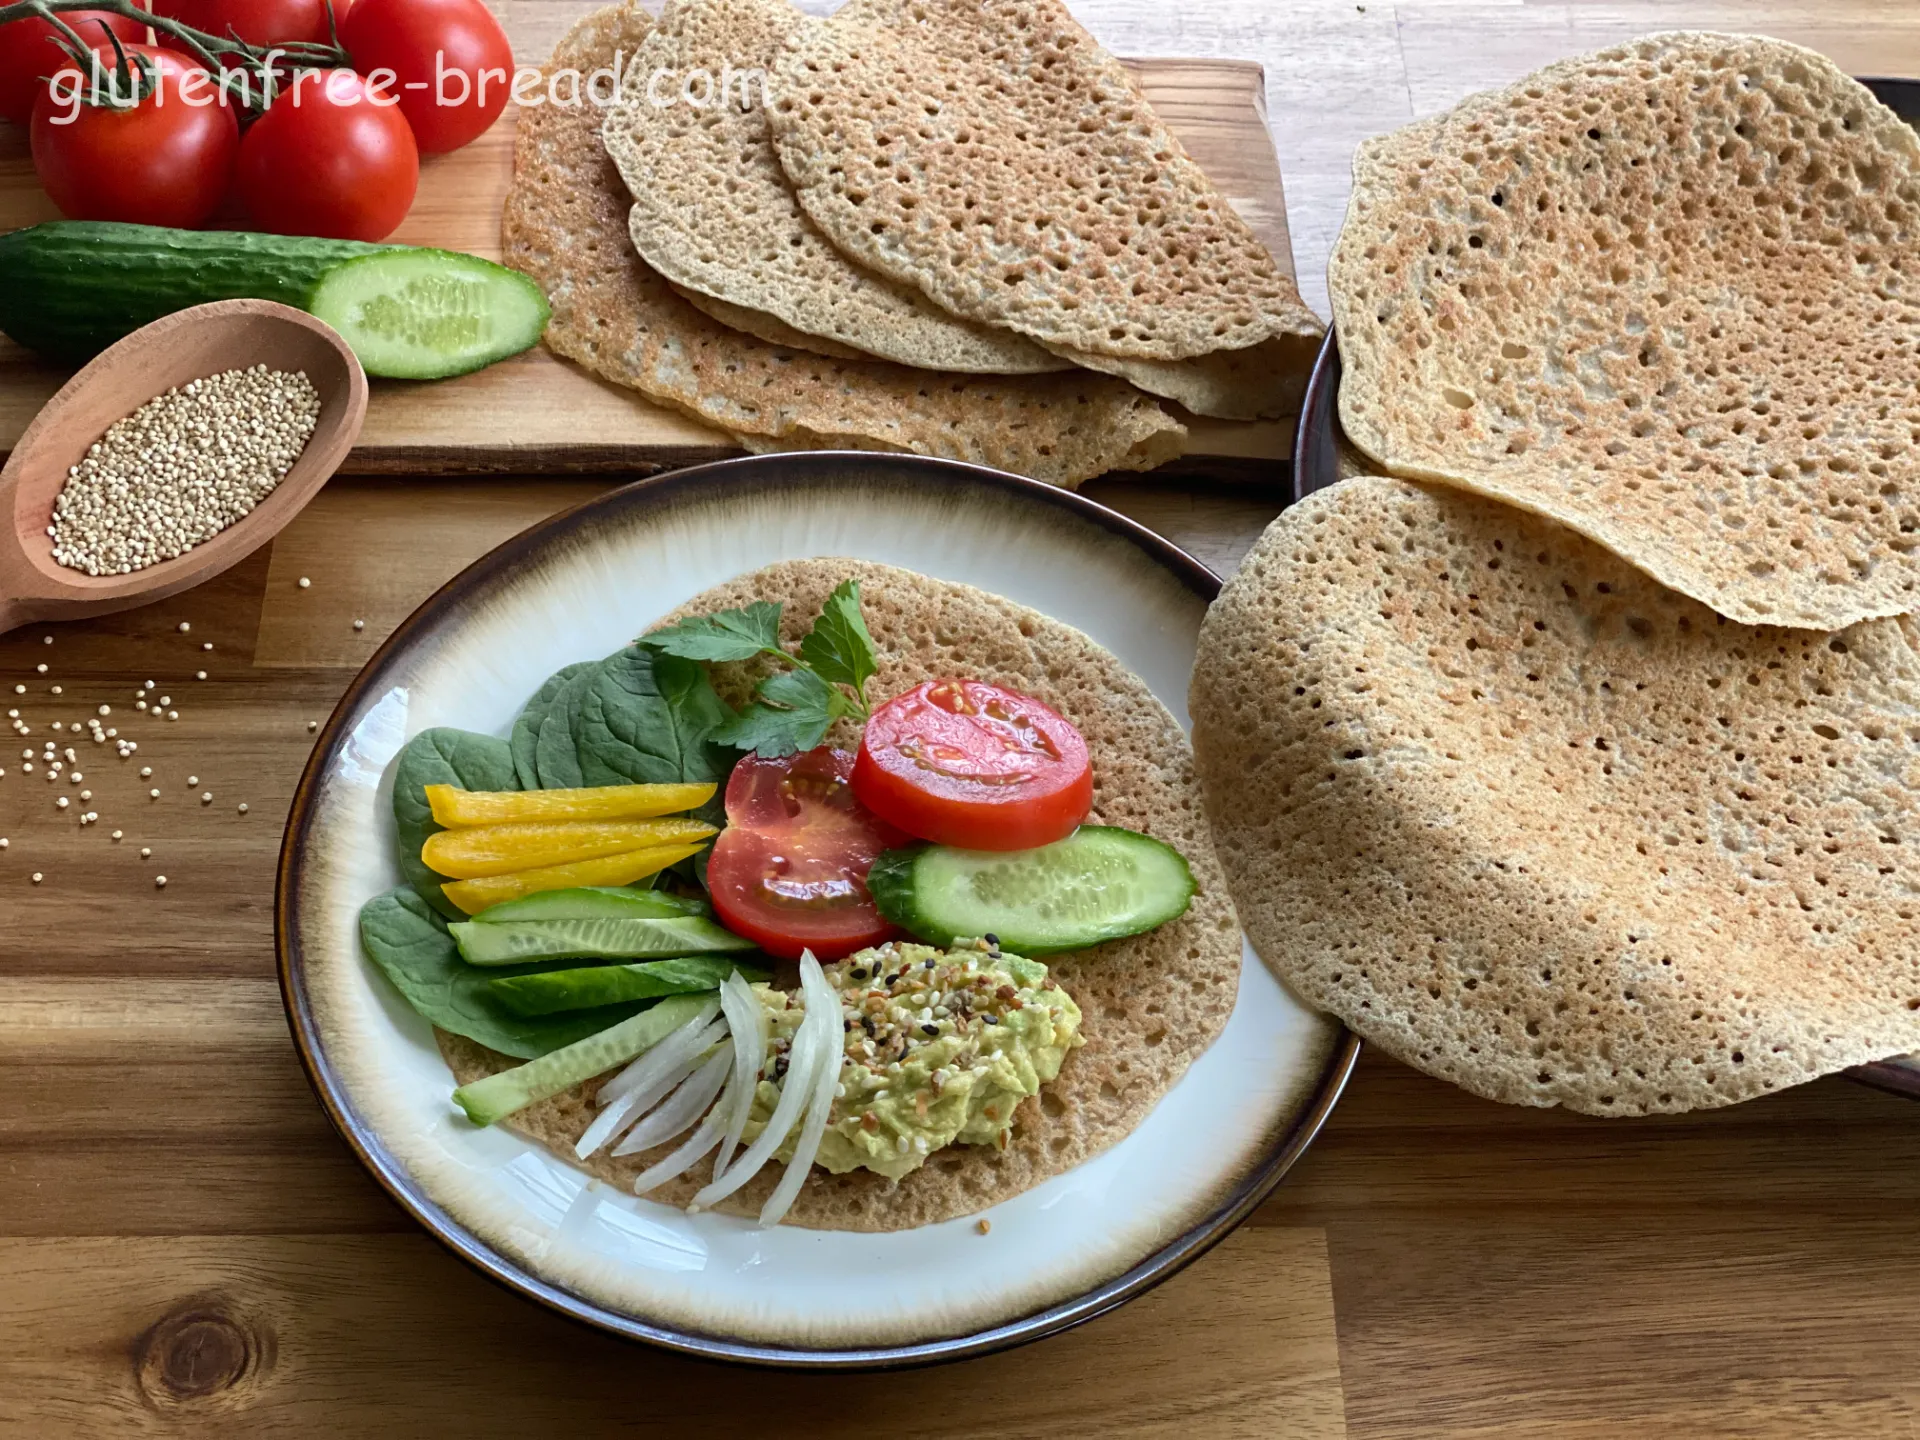
Quinoa Crepes Vegan
Quinoa Crepes made with soaked quinoa, water and oil are healthy ways to start the day. Crepes can be served by themselves, or used as wafer-thin wrappings for a variety of foods.
Ingredients:
| Name | Metric | US |
|---|---|---|
| Quinoa, soaked overnight | 185 gr | 1 cup |
| Water, or as needed | 250 ml | 1 cup |
| Vegetable Oil | 15 ml | 1 tablespoon |
| Salt | 3 gr | 1/2 teaspoon |
Optional Ingredients
- 3 ml / ½ teaspoon Vanilla
- 15 gr / 1 tbsp Sweetener ( Maple Syrup, Honey or Coconut Sugar)
- 3 gr / ½ teaspoon Cinnamon
Equipment:
- Blender
Steps:
Step 1
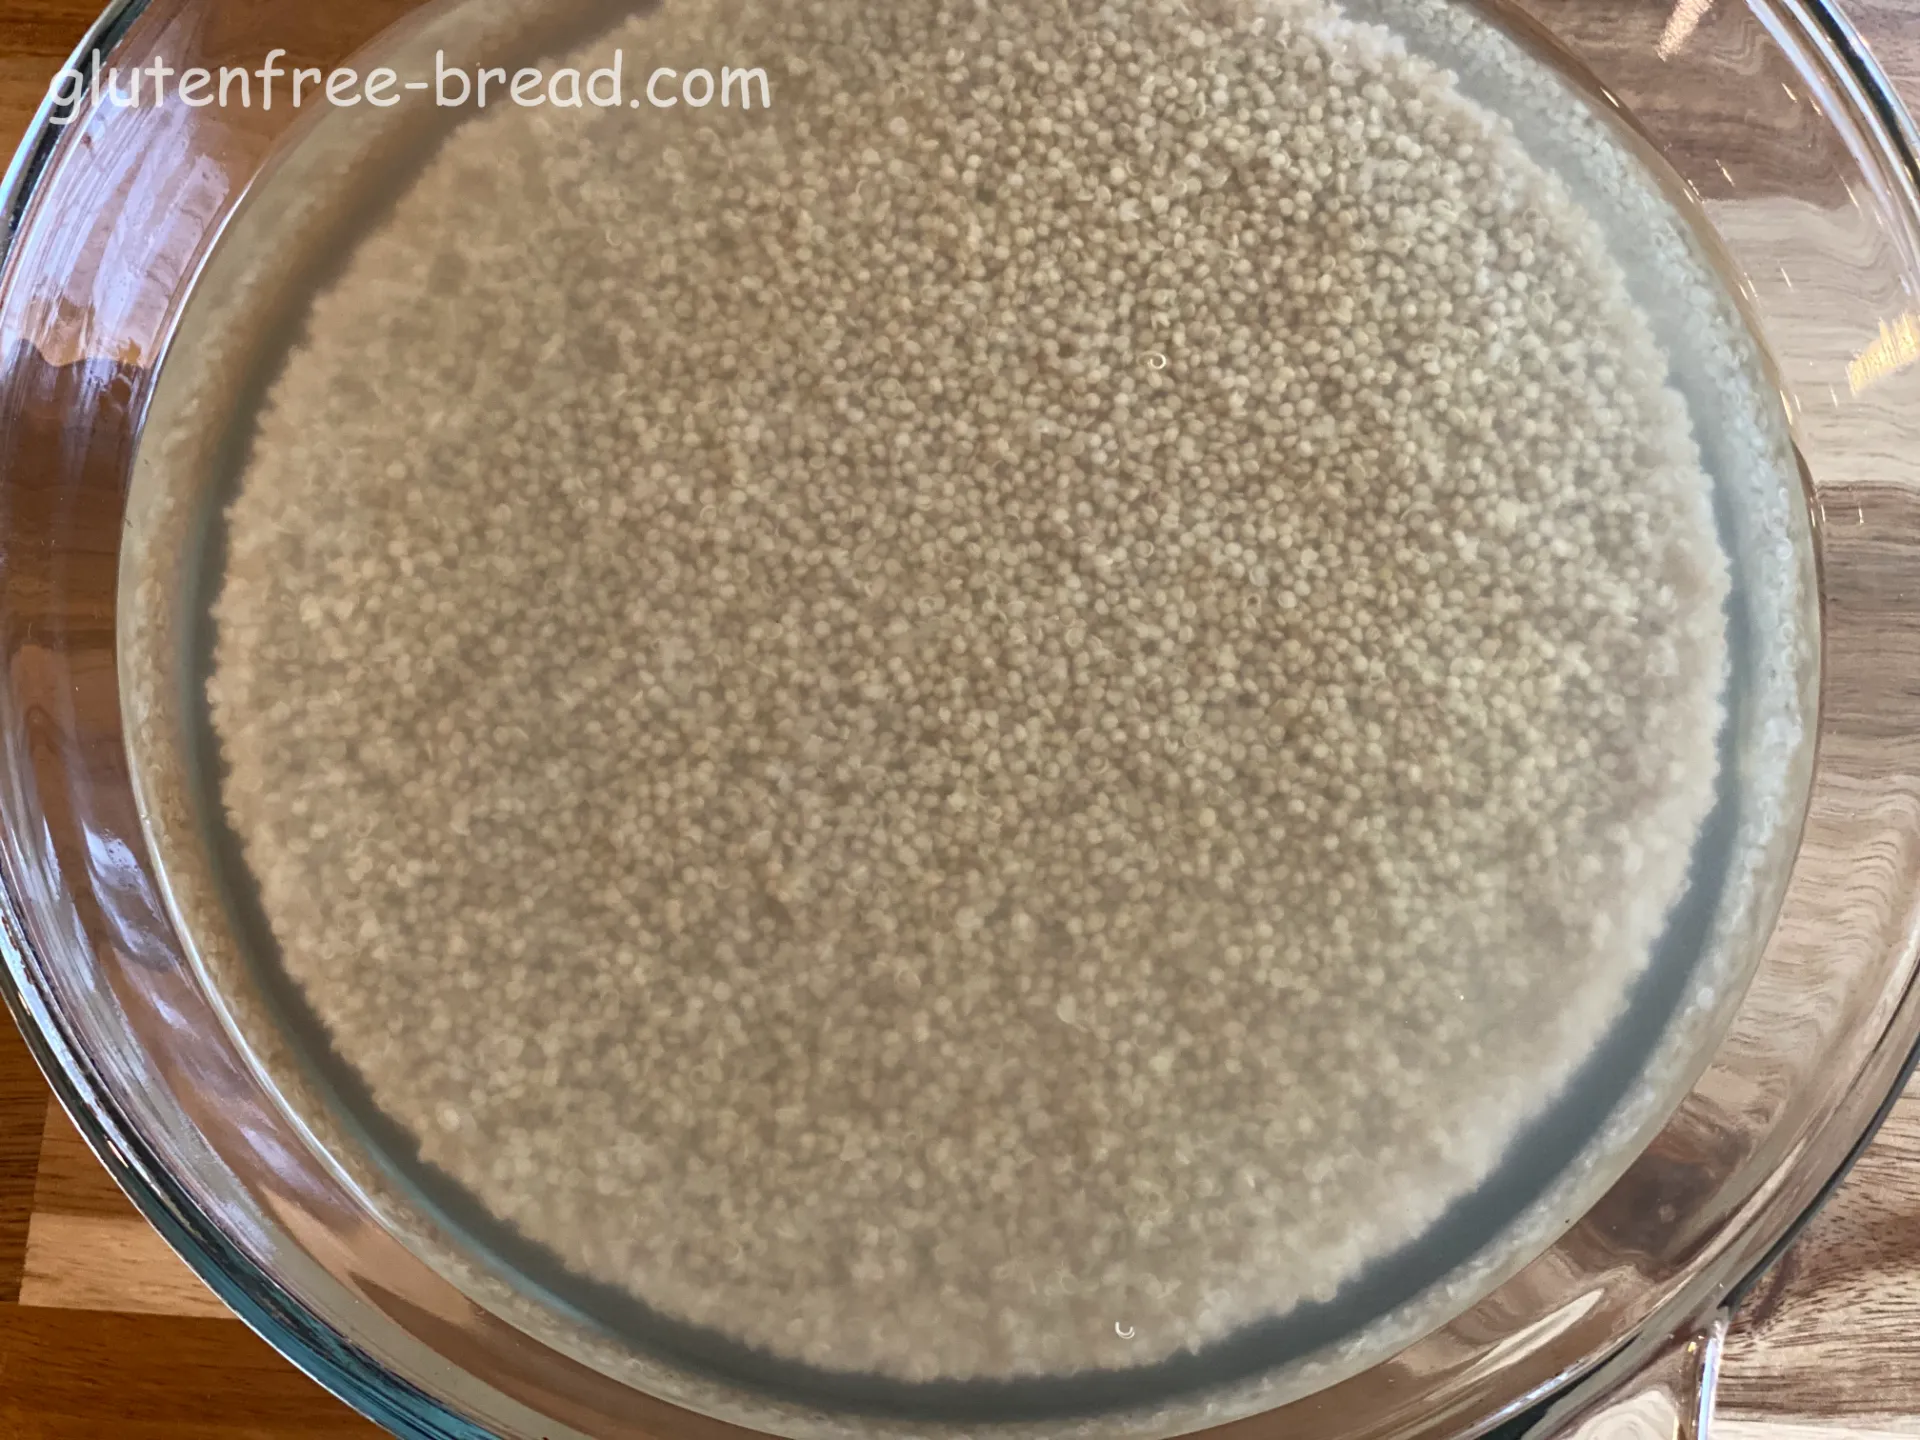
Rinse quinoa (185 gr / 1 cup) thoroughly, then add to a large mixing bowl and cover with twice the amount of lukewarm water. Soak uncovered at room temperature for at least 4 hours, or overnight.
Step 2
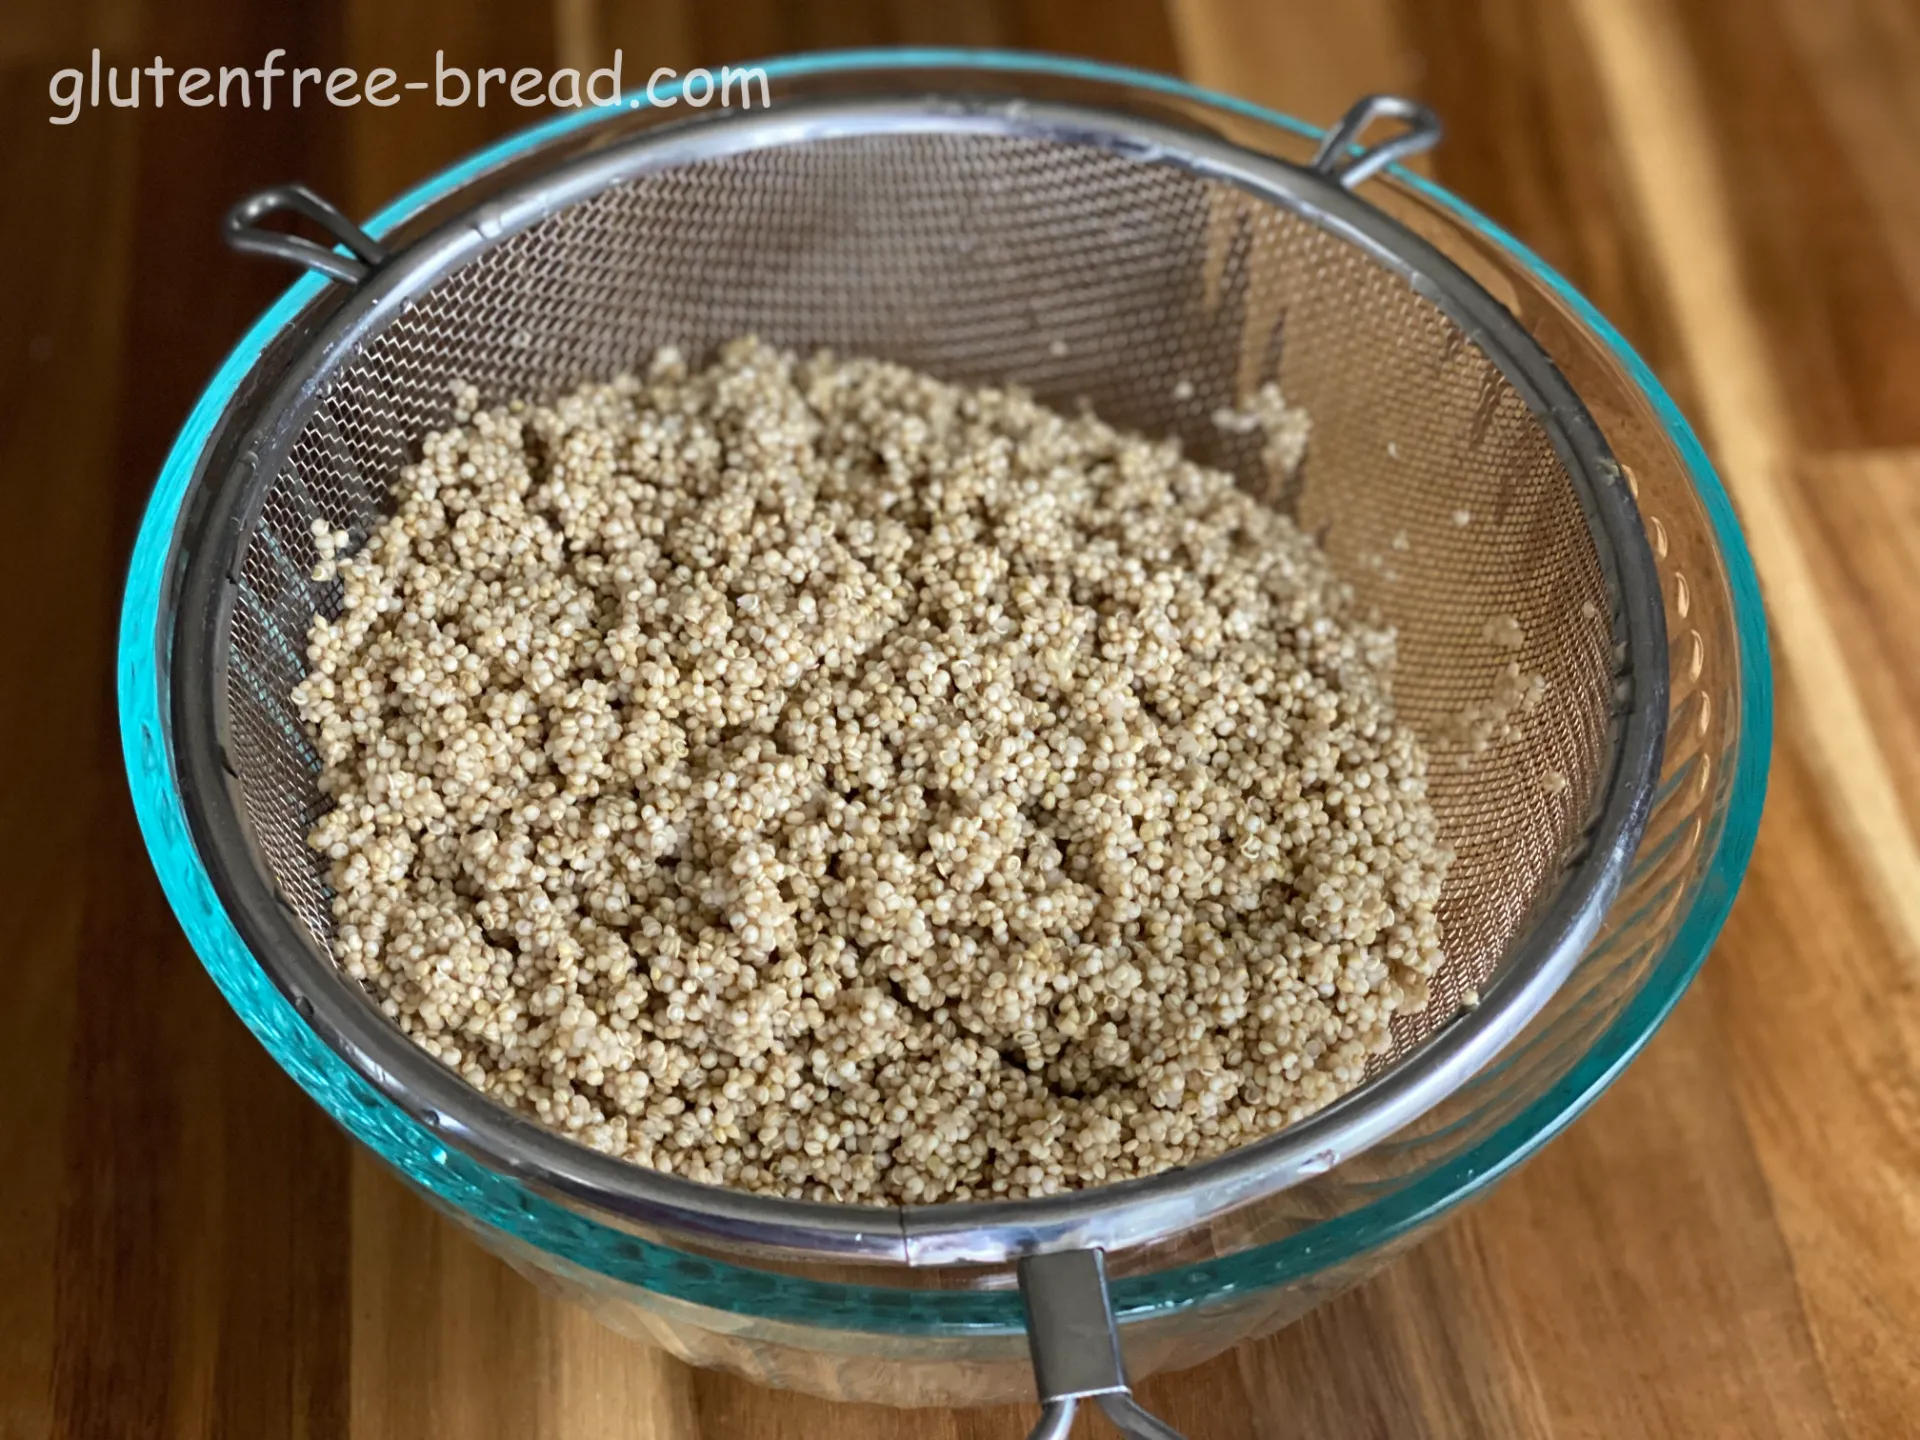
Rinse quinoa and let it drain for 3-5 minutes to get the excess moisture out.
Step 3

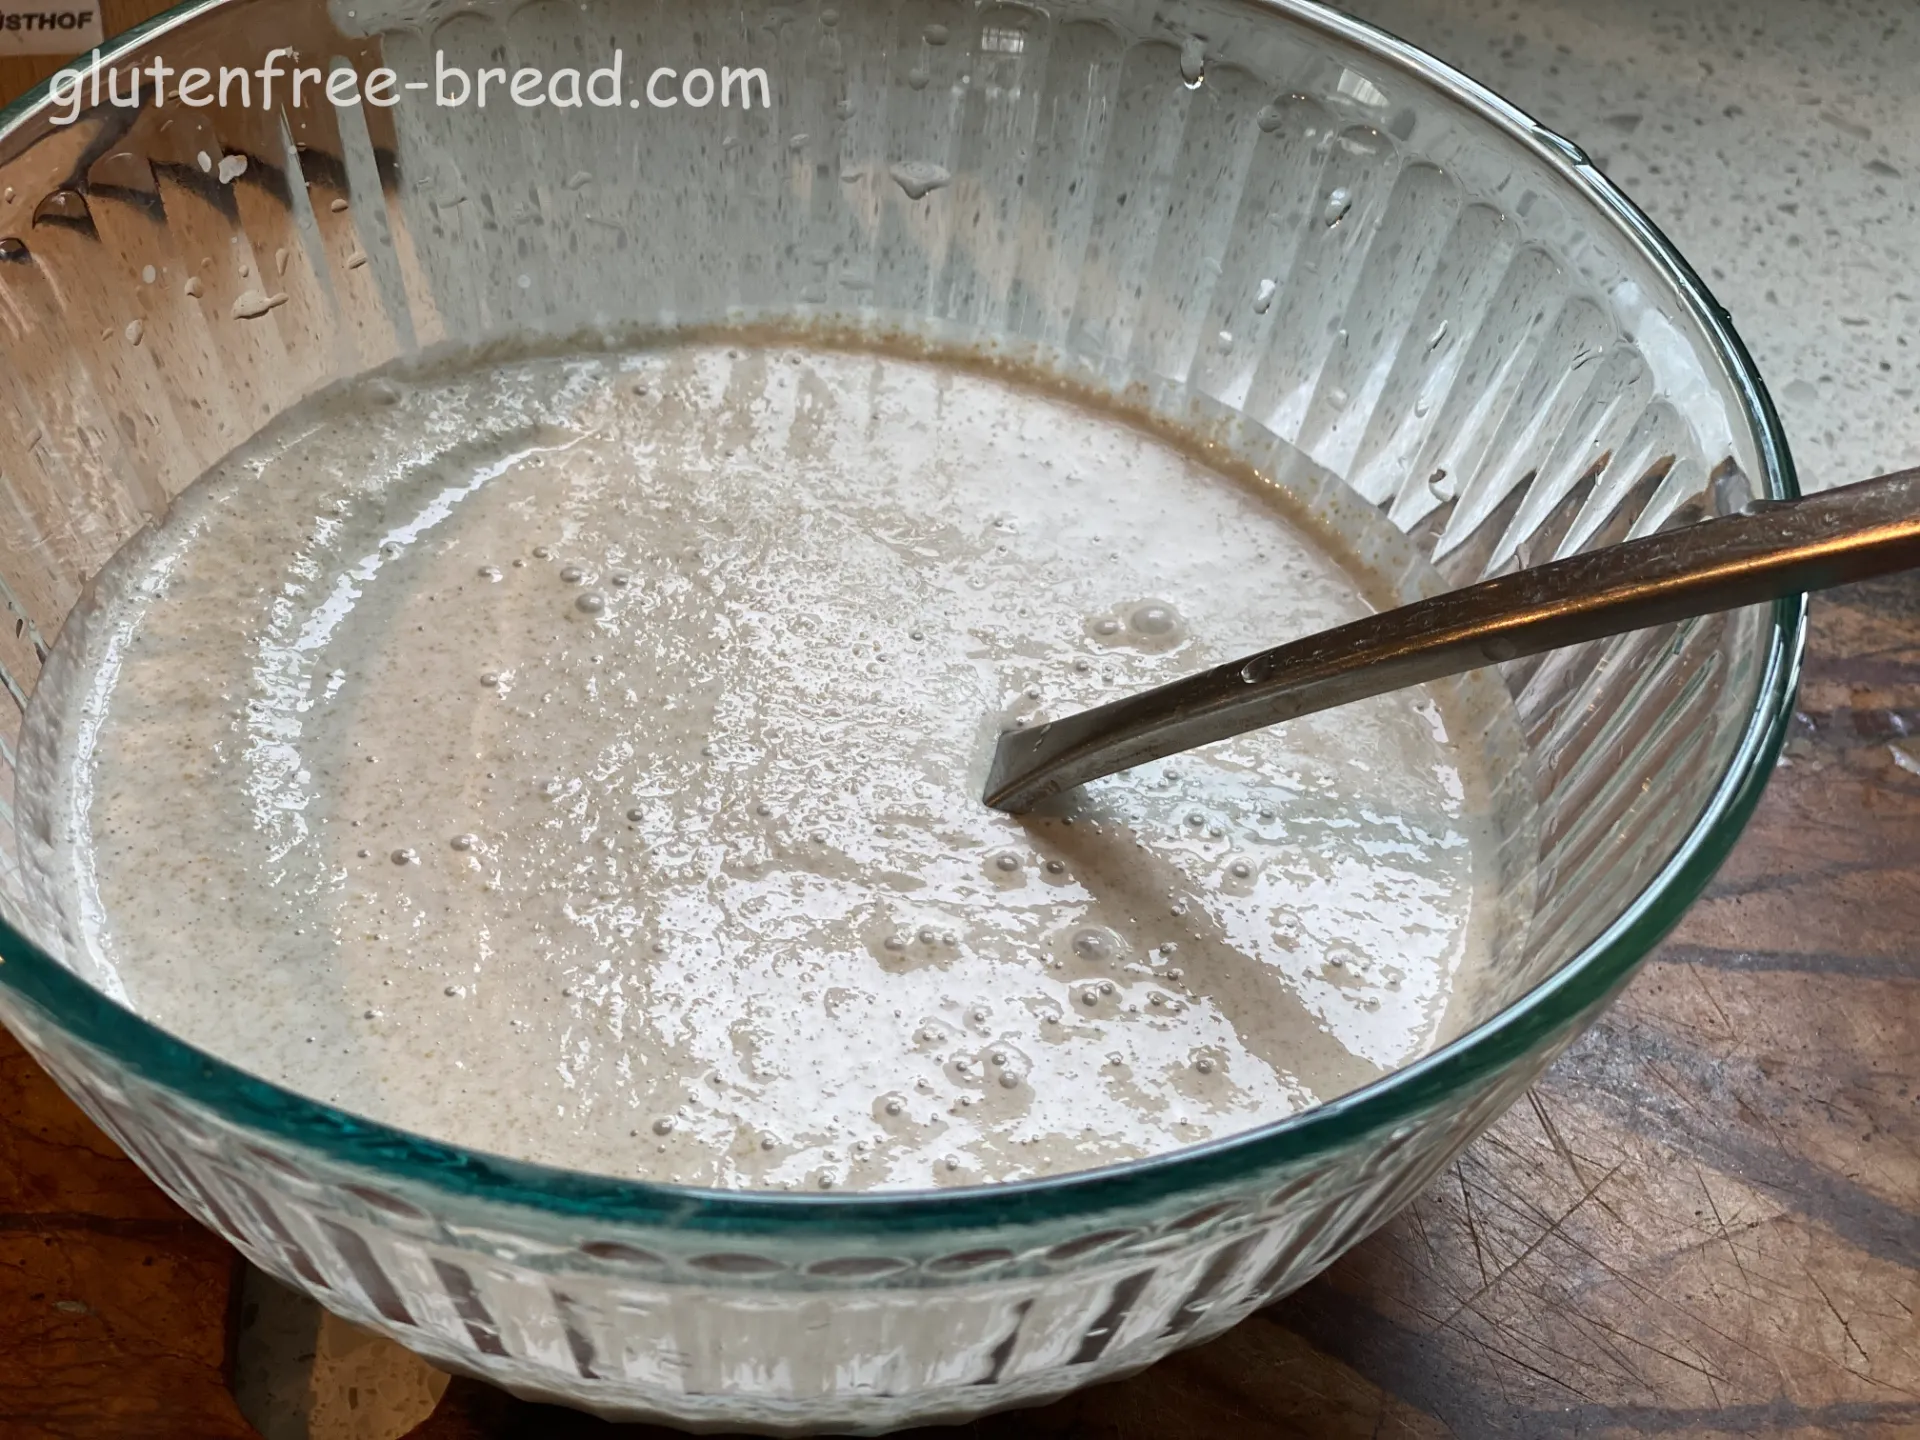
In a high-speed blender put the drained quinoa and water (250 ml / 1 cup ), salt (1 teaspoon), oil (1 tablespoon) and optional spices, if using. Blend until smooth. Crepe batter should have the consistency of heavy cream, almost liquid.
Step 4

Allow the batter to rest for 10 minutes.
Step 5
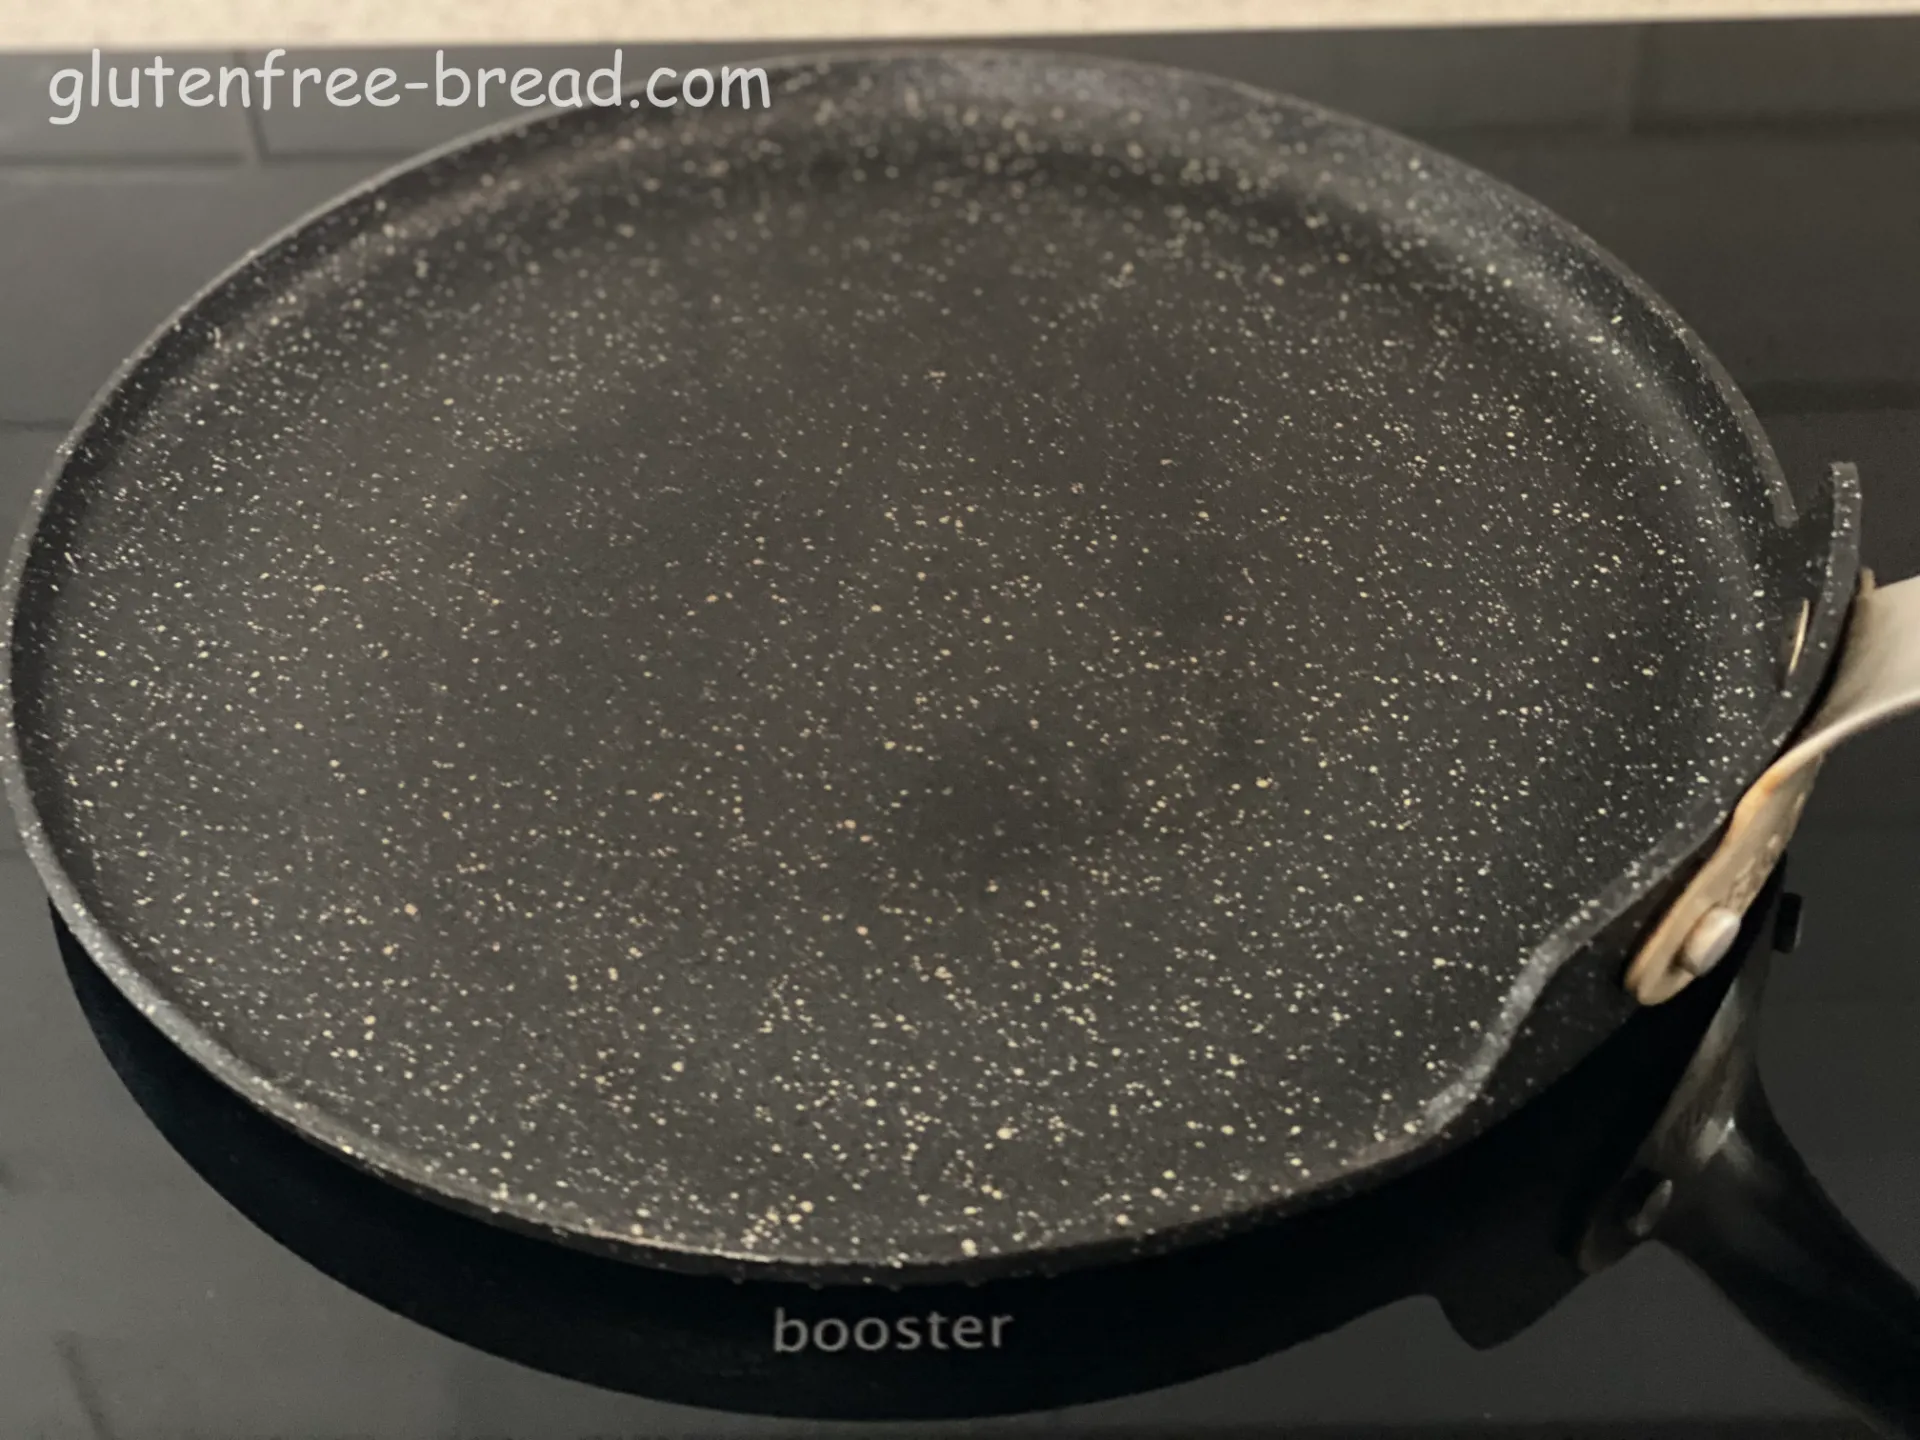
Meanwhile preheat a crepe pan or non-stick skillet over medium heat (for about 5 minutes). This step is very important, so crepes will not stick to the pan! The pan should be heated to medium before adding the batter. If the heat is too high, the batter won’t spread to the edges of the pan before setting.
Step 6
Brush the pan very lightly with oil.
Step 7
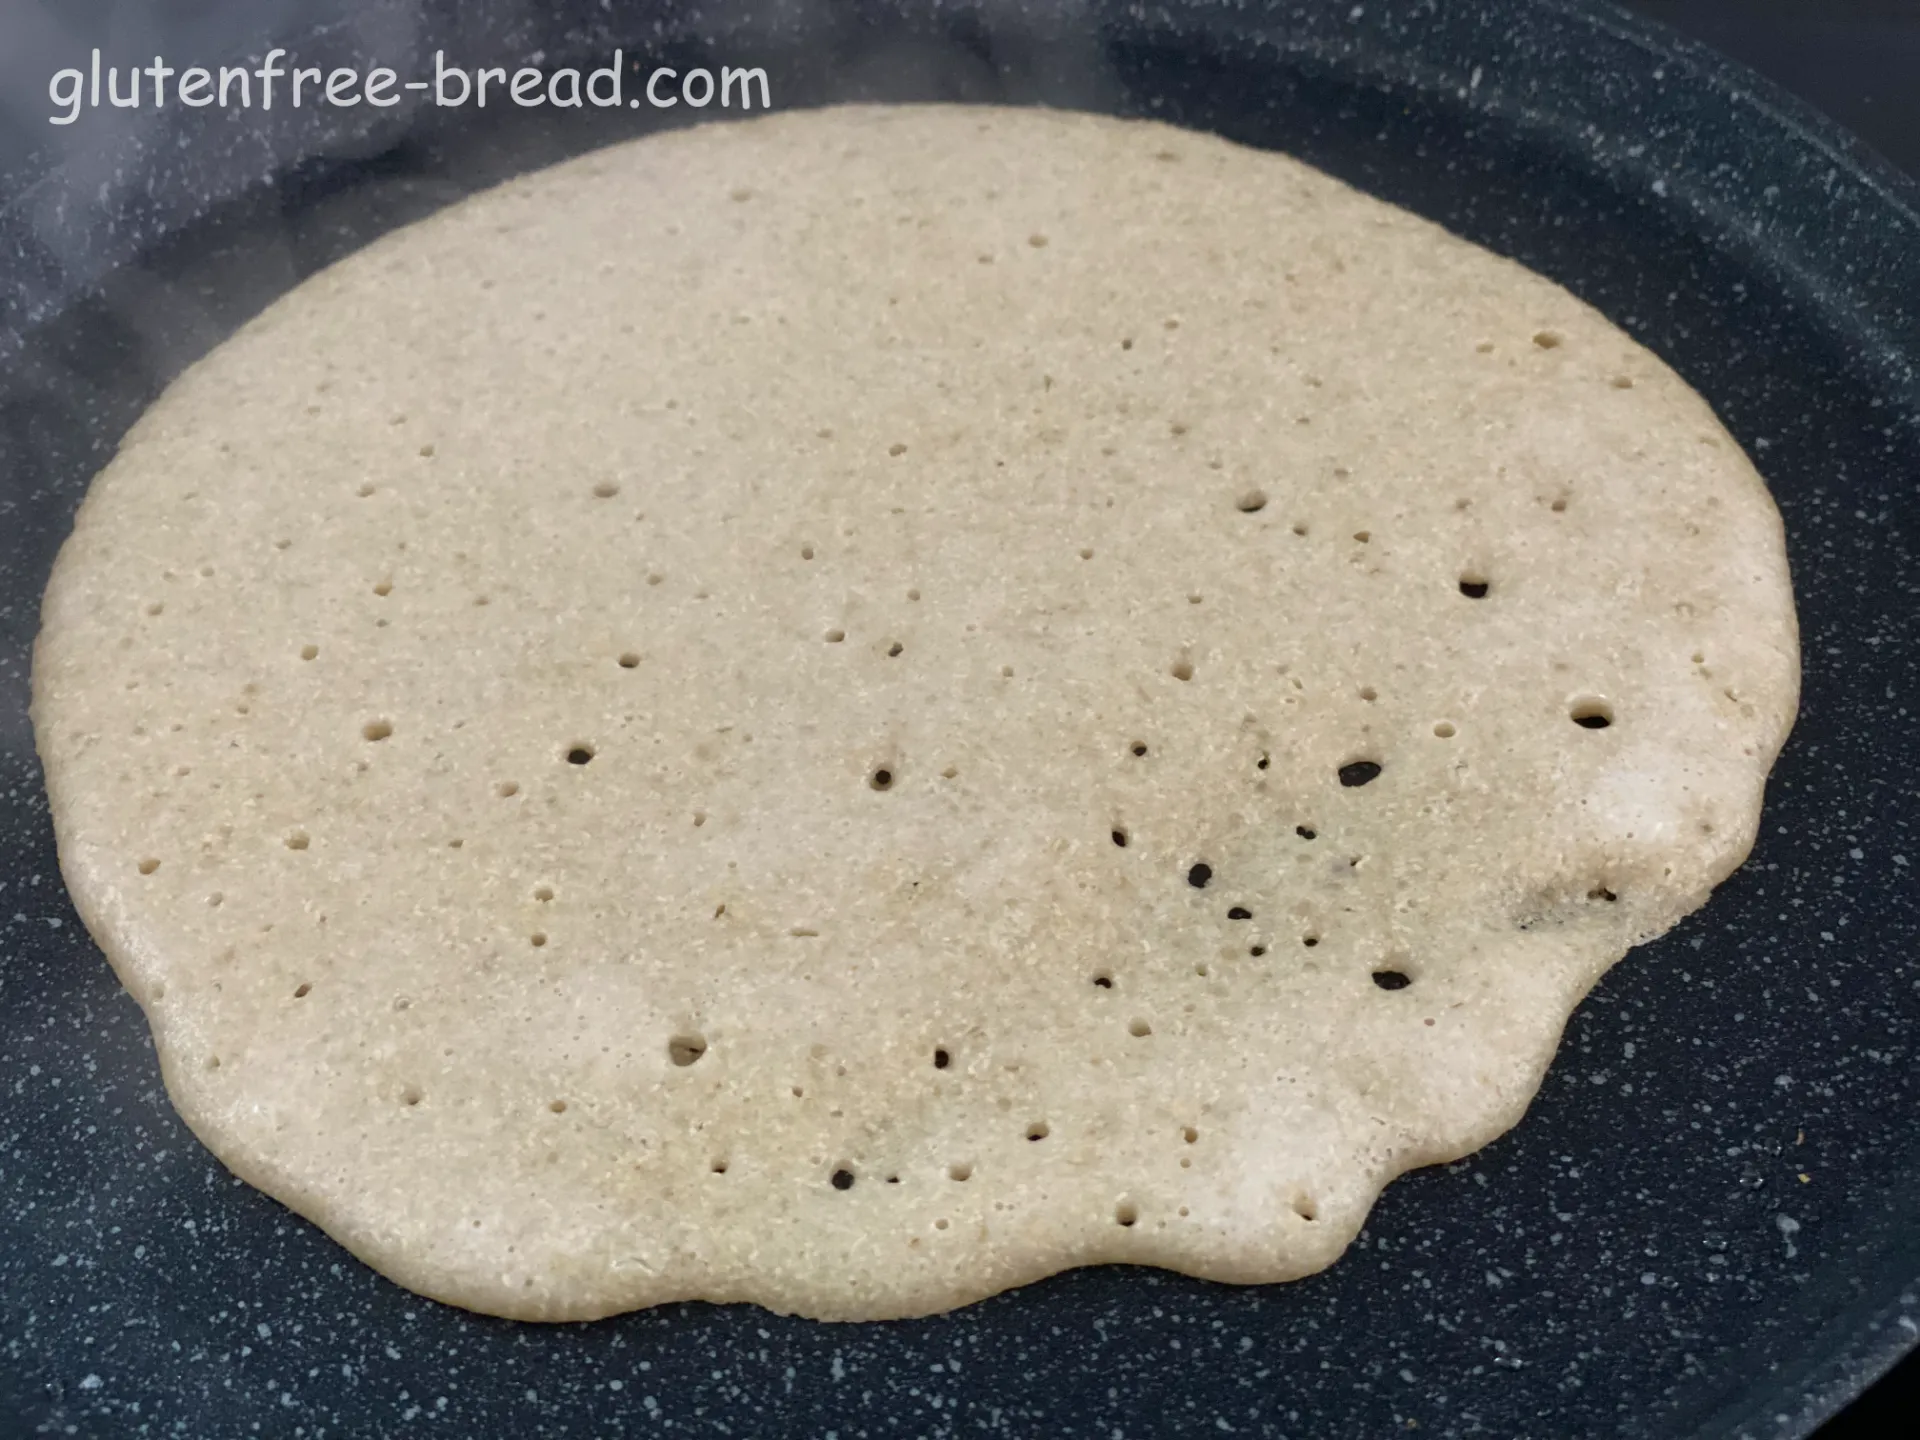
Coat the pan with about 1/3 cup of crepe batter, cook until the edges start to brown, then flip the crepe. Cook for 10 more seconds and remove from the pan.
Step 8
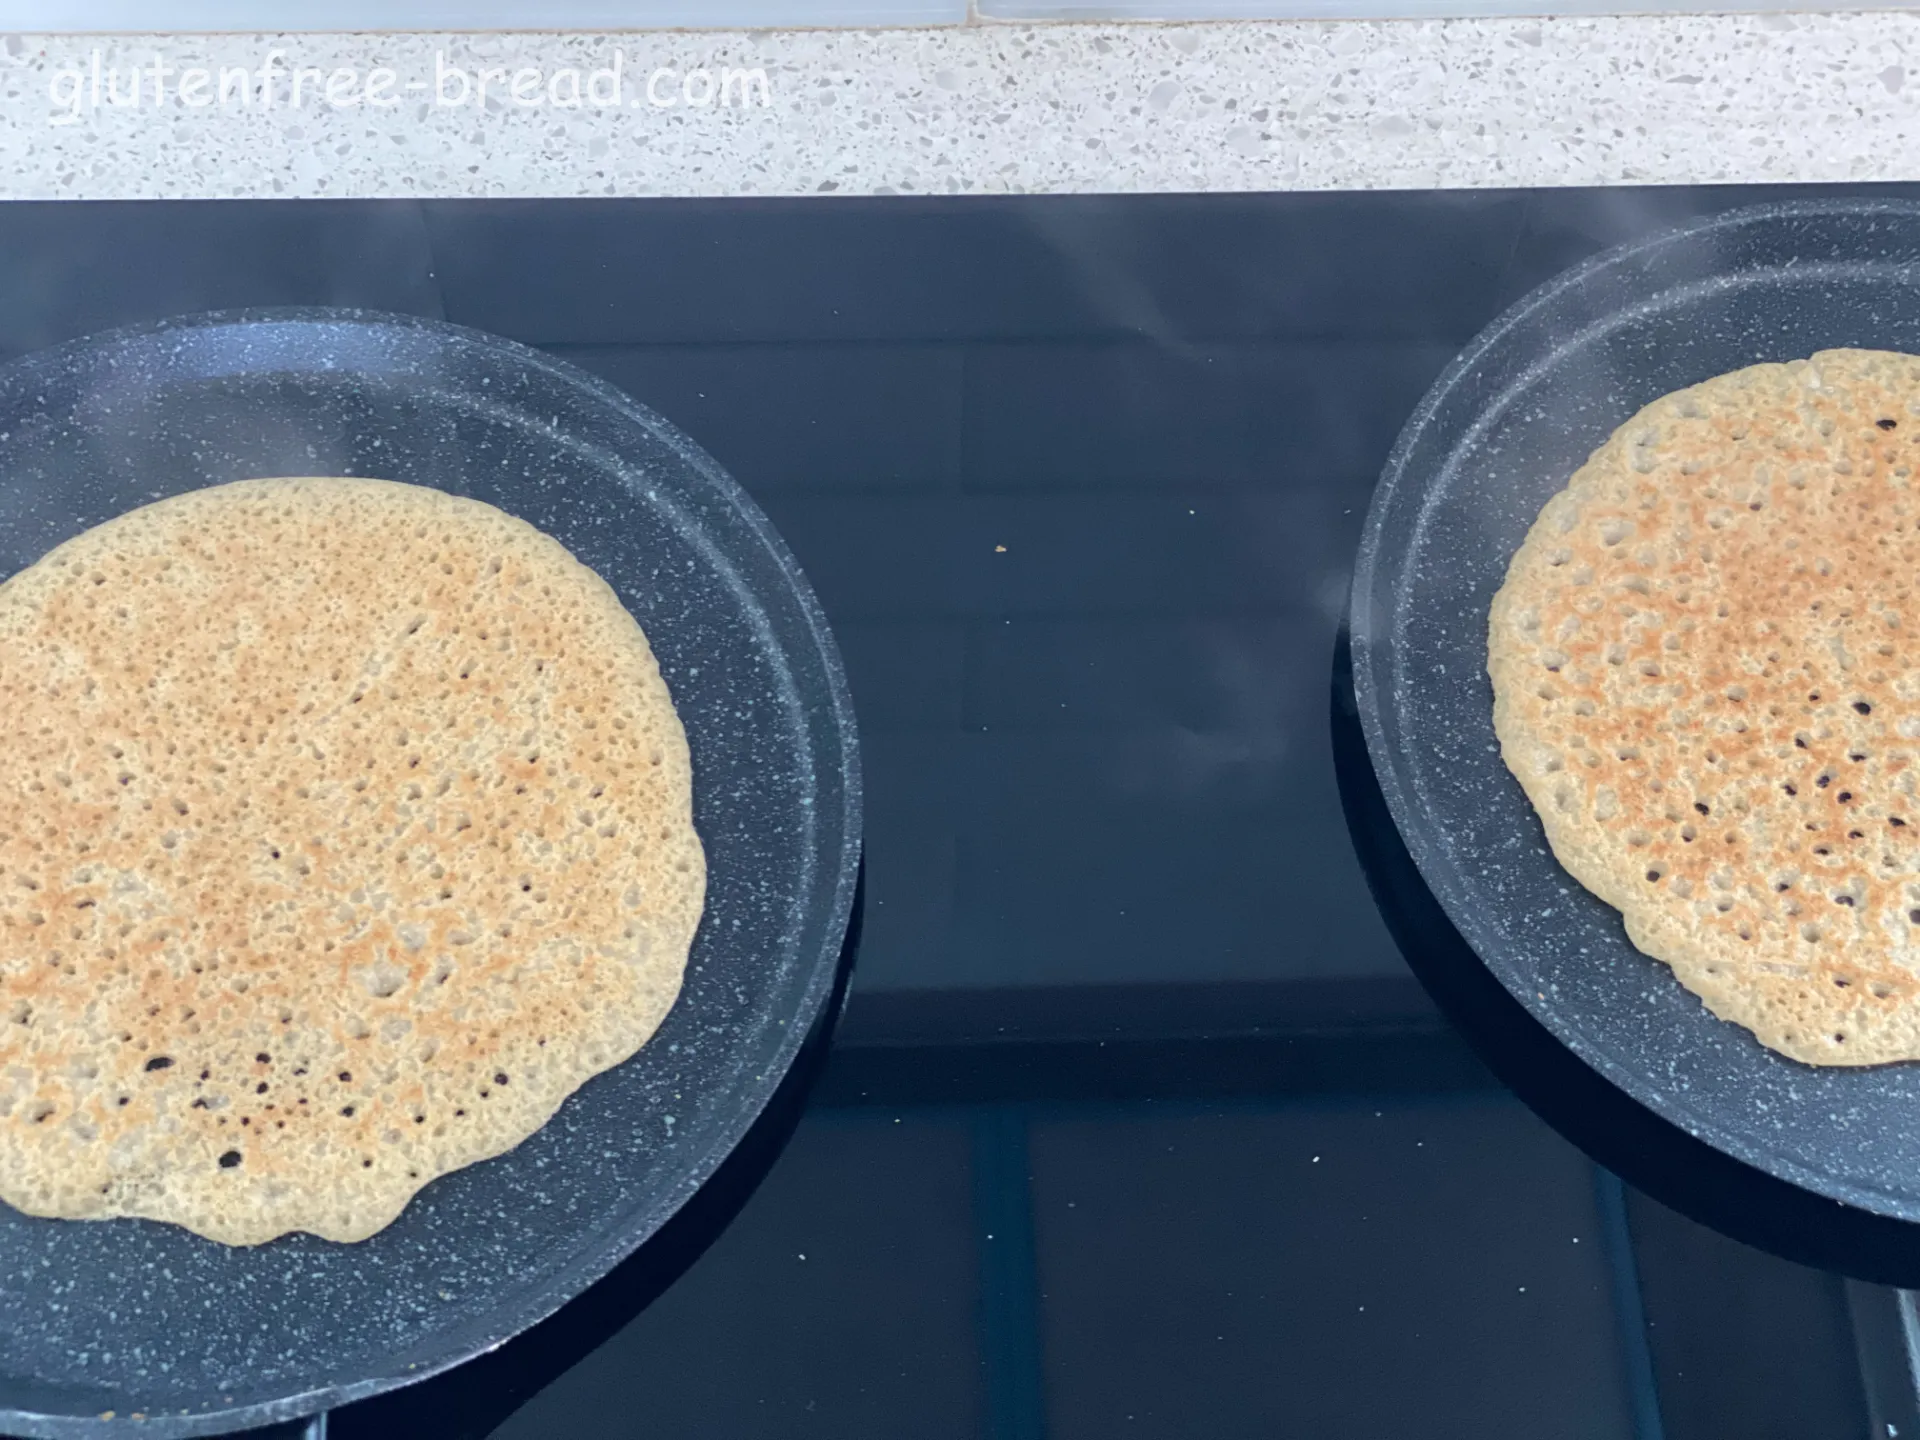
Continue with the rest of the crepes, adjusting heat up or down. It takes a little bit of practice and experience to get to know the right temperature and technique.
Step 9

Eat crepes immediately, or store tightly wrapped in the refrigerator for up to 2 days. To reheat, place in a warm skillet to make them pliable again.
Notes:
Quinoa Crepes Vegan
Here are some tips for making perfect crepes:
Use the right batter consistency: The crepe batter should be thin, similar to the consistency of heavy cream. If it's too thick, the crepes will be too dense; if it's too thin, they may tear easily.
Let the batter rest: Allow the batter to rest for at least 10 minutes before cooking. This allows the flour/grains to fully hydrate and results in smoother crepes.
Preheat the pan: Preheat a non-stick skillet or crepe pan over medium heat before adding the batter. The pan should be hot enough that a drop of water sizzles and evaporates immediately.
Use the right amount of batter: Pour just enough batter into the pan to thinly coat the bottom when swirled. You can use a ladle or measuring cup to portion out the batter.
Swirl the batter: Once you pour the batter into the pan, quickly tilt and rotate the pan to spread the batter evenly in a thin layer. This helps create a uniform thickness for the crepe.
Cook on one side first: Cook the crepe on one side until the edges start to brown slightly and the surface appears dry, about 1-2 minutes.
Flip carefully: Use a thin spatula to gently lift and flip the crepe. If you're new to making crepes, you can use your fingers to help guide the crepe as you flip it.
Cook briefly on the other side: Cook the crepe on the other side for another 15 seconds or until lightly browned.
Addind baking soda:Adding baking soda to crepe batter is often optional. If a recipe calls for soda but you prefer not to use it or don't have any on hand, you can often omit it without affecting the outcome of the crepes. The crepes may be slightly denser and may not brown as evenly, but they still will be tasty and perfectly edible.
Keep warm: If you're making a large batch of crepes, you can keep them warm by covering the stack with a clean kitchen towel while you finish cooking the rest.
Experiment with fillings: Get creative with your crepe fillings! Sweet options like Nutella, fresh fruit, whipped cream, or jam are classic choices, while savory options like cheese, ham, spinach, or mushrooms can also be delicious.
With practice and patience, you'll be able to master the art of making perfect crepes every time!
Quinoa Crepes Vegan Additional information:
Soaking grains when cooking quick breads can provide several advantages:
Moisture retention: Soaking grains helps them absorb moisture, resulting in a softer and more moist texture in the finished bread. This can prevent the bread from becoming dry or crumbly, enhancing its overall quality and enjoyment.
Improved texture: Soaking grains can soften their texture, making them easier to incorporate into the batter or dough. This can result in a smoother and more uniform texture in the final product, with fewer noticeable grainy or gritty bits.
Enhanced flavor: Soaking grains can help release their natural sugars and starches, resulting in a richer and more flavorful bread. This can contribute to a more complex taste profile and a more enjoyable eating experience.
Digestibility: Soaking grains can help break down anti-nutrients, such as phytic acid, which can inhibit the absorption of nutrients in the body. This can improve the digestibility of the bread and increase the availability of nutrients for absorption.
Nutritional benefits: Soaking grains can increase their nutritional value by activating enzymes that help break down complex carbohydrates and proteins. This can make the nutrients in the grains more bioavailable, allowing your body to better absorb and utilize them.
Overall, soaking grains when cooking quick breads can result in bread that is softer, more flavorful, and easier to digest, while also maximizing its nutritional content. It's a simple technique that can significantly improve the quality of the finished product and enhance your overall baking experience.
Adding vinegar when soaking grains can offer several benefits, particularly in terms of reducing the phytic acid content in grains, which can inhibit the absorption of minerals like iron, zinc, and calcium in the body. Here's why adding vinegar when soaking grains can be beneficial:
Reduction of phytic acid: Vinegar is acidic, and this acidity can create an environment that breaks down phytic acid during soaking. Phytic acid is an anti-nutrient found in the outer layer of grains and seeds, which can bind to minerals and inhibit their absorption in the body. By adding vinegar to the soaking water, the acidity helps reduce the phytic acid content, increasing the bioavailability of minerals in the grains and seeds.
Improved digestibility: Breaking down phytic acid during soaking can improve the digestibility of grains and seeds. Phytic acid can also inhibit the activity of digestive enzymes, so reducing its content can aid in the digestion and absorption of nutrients.
Enhanced nutrient absorption: By reducing the phytic acid content, adding vinegar when soaking grains can increase the availability of minerals like iron, zinc, and calcium in the body. This can lead to better overall nutrient absorption and utilization.
Potential flavor enhancement: While vinegar itself may not significantly affect the flavor of the grains, it can add a subtle tanginess that may complement certain dishes. However, it's important to use vinegar in moderation to avoid overpowering the natural flavors of the grains.
Overall, adding vinegar when soaking grains can be a beneficial practice, especially for individuals looking to maximize the nutritional benefits of grains and seeds in their diet. However, it's important to note that soaking times may vary depending on the type of grain and the desired outcome, so it's best to follow a recipe or guideline for best results.
Generally, a small amount of vinegar is added to the soaking water to provide the benefits of acidification without overwhelming the flavor of the grains.
A common ratio is about 1 to 2 tablespoons of vinegar per cup of water used for soaking grains. However, this can be adjusted based on individual taste preferences and the specific recipe being used. Some recipes may call for slightly more or less vinegar depending on the desired flavor profile and the type of grains being soaked.
It's important to use vinegar in moderation, as too much can overpower the flavor of the grains and the final dish. White vinegar, apple cider vinegar, or rice vinegar are popular choices for soaking grains.
Incorporating quinoa into your diet can provide a range of nutritional benefits due to its high protein content, fiber, and essential nutrients. Here are some recommendations on how to enjoy quinoa in your meals:
Quinoa Salad: Prepare a refreshing salad by combining cooked quinoa with chopped vegetables like cucumbers, tomatoes, bell peppers, and fresh herbs. Dress with olive oil, lemon juice, salt, and pepper for a nutritious and flavorful dish.
Quinoa Bowl: Create a balanced meal by assembling a quinoa bowl with cooked quinoa as the base. Top it with roasted vegetables, avocado slices, chickpeas or black beans, and a drizzle of tahini or your favorite dressing.
Quinoa Breakfast: Enjoy quinoa as a wholesome breakfast option. Cook quinoa in almond milk or water, then top with fresh fruits such as berries, sliced bananas, and a sprinkle of nuts or seeds. Add a dash of cinnamon or honey for extra flavor.
Quinoa Stuffed Vegetables: Use quinoa as a filling for stuffed vegetables like bell peppers, zucchini, or tomatoes. Mix cooked quinoa with sautéed onions, garlic, herbs, and your choice of vegetables or beans. Bake until vegetables are tender for a satisfying meal.
Quinoa Soup: Add cooked quinoa to soups and stews for added texture and nutrition. Quinoa works well in hearty soups with vegetables, broth, and spices. It absorbs flavors well while providing a protein boost to your meal.
Quinoa Pilaf: Prepare a quinoa pilaf by sautéing quinoa with onions, garlic, and vegetables in a skillet before adding broth and simmering until cooked. Fluff with a fork and serve as a side dish to accompany grilled meats or roasted vegetables.
Quinoa Burger or Patty: Make homemade veggie burgers or patties using quinoa as a base ingredient. Combine cooked quinoa with mashed beans, breadcrumbs, herbs, and spices. Shape into patties and bake or pan-fry until golden brown.
Quinoa Desserts: Experiment with quinoa in sweet dishes such as quinoa pudding, where cooked quinoa is mixed with milk (or non-dairy milk), sweetener, and flavorings like vanilla or cocoa powder. Serve chilled with fresh fruit or nuts on top.
Quinoa Flour in Baking: Use quinoa flour as a gluten-free alternative in baking recipes. It adds a nutty flavor and nutritional benefits to muffins, cookies, and bread. Combine with other gluten-free flours for best results.
Quinoa as a Side Dish: Simply serve cooked quinoa as a nutritious side dish to accompany main meals. Season lightly with salt, pepper, and herbs, or toss with a little olive oil and lemon juice for added flavor.
Incorporating quinoa into your diet offers versatility, nutritional benefits, and can enhance the flavor and texture of your meals. Whether used as a base for salads, bowls, or soups, or as an ingredient in baking and cooking, quinoa provides a wholesome addition to a balanced diet.
Quinoa is renowned for its impressive nutritional profile and versatile culinary uses. Here are the key properties and benefits of quinoa:
High Nutritional Value: Quinoa is considered a superfood because it is rich in essential nutrients such as protein, fiber, vitamins, and minerals. It contains all nine essential amino acids, making it a complete protein source suitable for vegetarians and vegans.
Rich in Protein: Quinoa is one of the few plant-based foods that are high in protein. It contains about 8 grams of protein per cooked cup (185 grams), which is higher than most grains. Protein is essential for muscle repair, growth, and overall body function.
Gluten-Free: Quinoa is naturally gluten-free, making it an excellent choice for individuals with gluten intolerance or celiac disease who need to avoid wheat and other grains containing gluten.
High Fiber Content: Quinoa is a good source of dietary fiber, providing about 5 grams per cooked cup. Fiber is essential for digestive health, maintaining bowel regularity, and may help lower cholesterol levels.
Rich in Vitamins and Minerals: Quinoa contains significant amounts of vitamins and minerals such as folate, magnesium, phosphorus, manganese, and iron. These nutrients play crucial roles in energy metabolism, bone health, and overall well-being.
Low Glycemic Index: Quinoa has a relatively low glycemic index (GI), which means it does not cause a rapid spike in blood sugar levels after consumption. This makes it a suitable choice for individuals managing blood sugar levels or diabetes.
Antioxidant Properties: Quinoa contains various antioxidants, including quercetin and kaempferol, which help neutralize free radicals and protect against chronic diseases like heart disease, cancer, and aging.
Versatile Culinary Uses: Quinoa has a mild, nutty flavor and a slightly chewy texture, making it versatile for both savory and sweet dishes. It can be used as a base for salads, soups, stews, stir-fries, pilafs, and even desserts.
Quick Cooking: Quinoa cooks relatively quickly compared to other whole grains, typically in about 15 minutes. This makes it convenient for meal preparation and suitable for busy lifestyles.
Adaptability to Various Diets: Quinoa fits well into vegetarian, vegan, gluten-free, and other special dietary patterns due to its nutritional density and versatility in recipes.
Overall, quinoa's nutritional properties make it a valuable addition to a balanced diet, providing essential nutrients and health benefits. Its versatility in cooking and compatibility with various dietary needs make it a popular choice among health-conscious individuals.